Proviews ‑ Product Reviews Q&A
Legal Policies

Setup & Configuration
Additional Information
Installation Processes
Feature Policies & Guidelines


How to Get Started with Proviews: Complete Onboarding Guide For Shopify
Aug 25, 2026
Overview:
Install Proviews on your Shopify store, place the review widget on your product pages, and start collecting reviews automatically. The whole process takes a few minutes.
Step 1.1: Choose your language:
Set the language for the Proviews admin panel.
Available languages
- English (default)
- Deutsch
- Español
- Français
- Italiano
- Nederlands
- Português
- Română
Select a language, then select Next.
Step 1.2: Select a theme:
Choose the theme where Proviews will install its widget.
How the theme list works
- Your live published theme appears at the top of the list.
- Every unpublished theme appears below it, under Theme library.
- Install Proviews on your live theme to show reviews to customers now, or on a draft theme to test privately before publishing.
- Select a theme, then select Next.
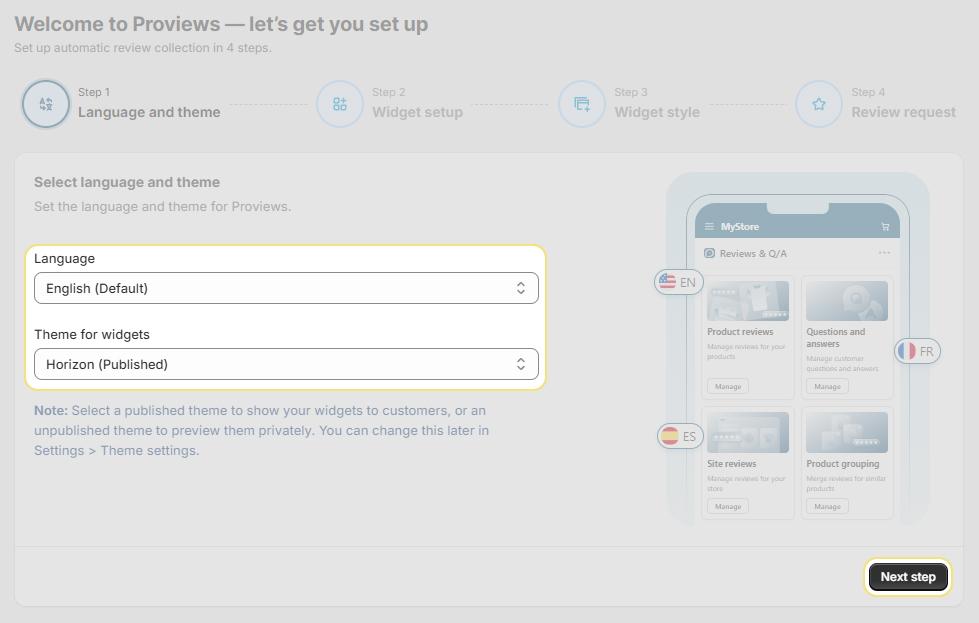
Step 2.1 - Turn on the app embed
The app embed loads Proviews on your storefront. Reviews cannot display until you turn it on.
Turn on the embed
1. Select Enable app embed. Proviews opens your theme customizer at
Online Store → Themes → Customize → App embeds.
2. Automated system turns on the Proviews Snippet for you.
3. Select Save, then return to the Proviews app.
A green App embed enabled label confirms the change.
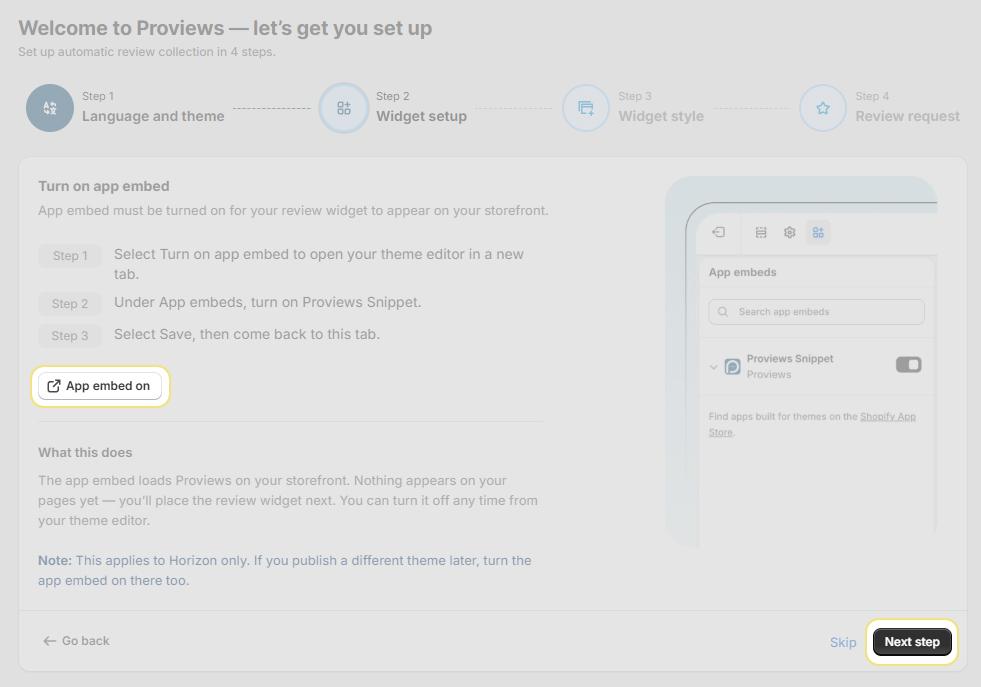
Step 2.2 - Add the widget to your product pages
Place the review widget on your product template so shoppers can read and leave reviews.
- Return to the Integration screen in Proviews.
- Select Open Shopify theme editor, or go to Online Store → Themes → Customize.
- From the dropdown at the top, select your Product template.
- In the left sidebar, select Add section → Proviews Widget.
- Drag the widget into position.
- Select Save.
Tip: This adds the widget to one product template. Repeat these steps for every product template your store uses.
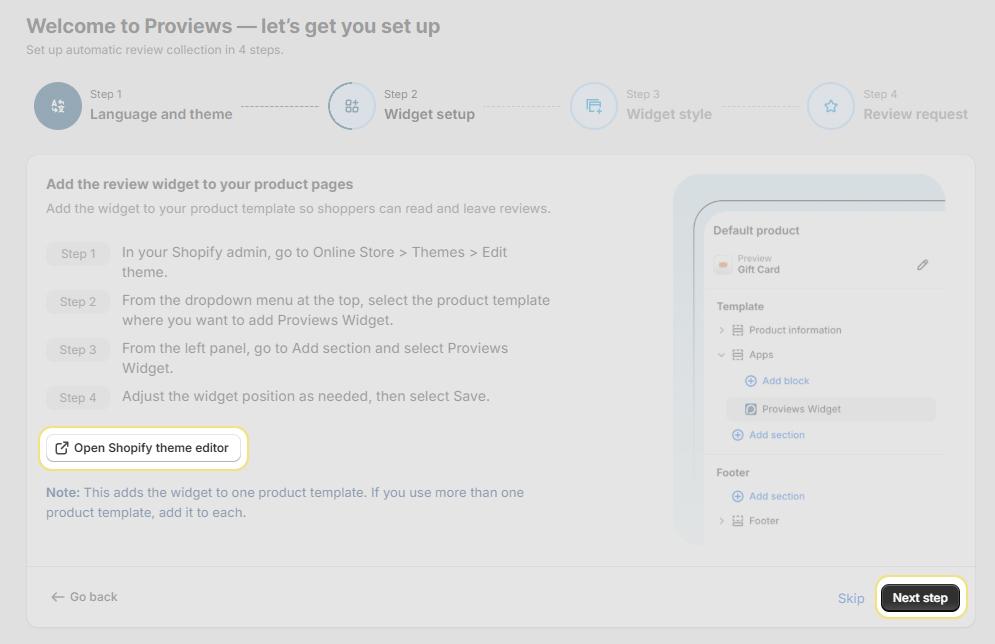
Step 3 - Choose a review layout
Pick how reviews appear on your storefront. Change the layout anytime.
List
- Stacks reviews vertically
- Suits long, detailed reviews
- Best for readability
Grid
- Arranges reviews as tiles
- Modern and visually balanced
- Shows several reviews at once
Slider
- Displays reviews in a carousel
- Saves space on product pages
- Interactive and engaging
Turn on questions and answers:
The Q&A widget lets shoppers ask questions directly on your product pages.
Turn it on
- Find the Questions and answers toggle below the layout options.
- Switch it on.
Why turn it on
- Shoppers ask questions and read existing answers without leaving the page.
- Public answers build trust with every visitor, not just the person who asked.
- Fewer unanswered questions means fewer abandoned carts.
Step 4 - Set up review request emails
Proviews emails customers automatically after they buy, so reviews arrive without you chasing them.
Choose when requests go out
- Select the order status that triggers the email, such as Fulfilled or Delivered .
- Set how many days Proviews waits after that status before emailing.
Allow enough time for the order to arrive and for the customer to use the product. A request that lands before delivery rarely earns a review.
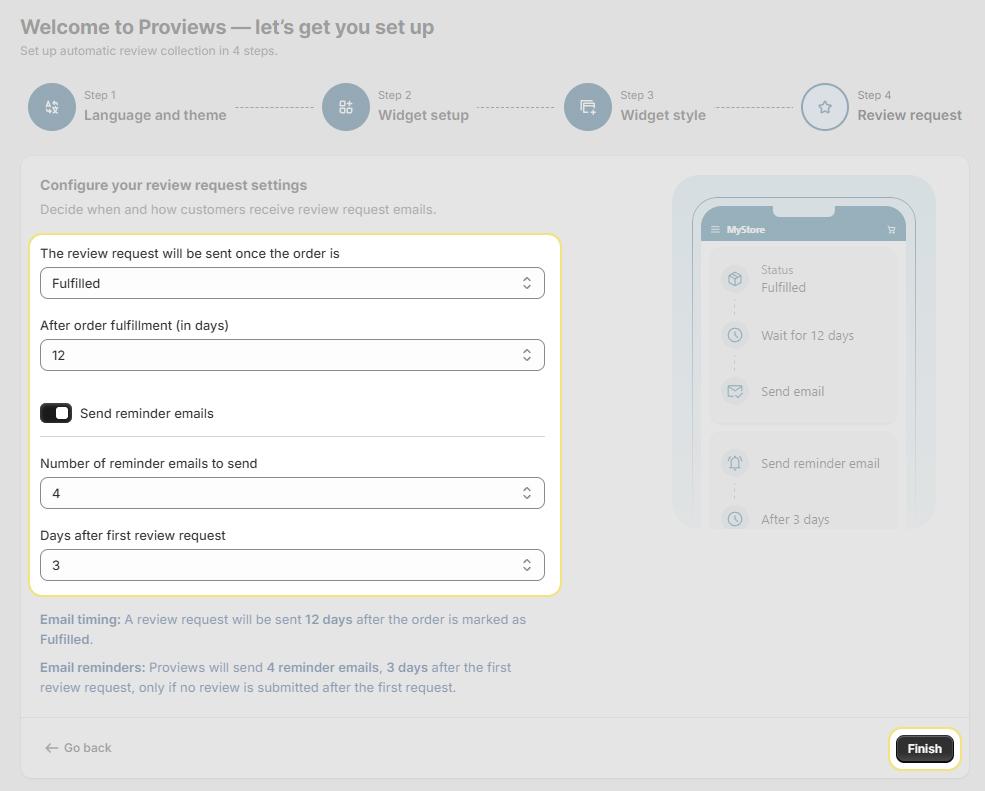
Add reminder emails (optional)
Reminders follow up with customers who have not reviewed yet.
- Switch on Send reminder emails.
- Set how many reminders to send.
- Set the number of days between reminders.
Proviews stops sending reminders as soon as the customer submits a review. Leave the toggle off to send the first request only.
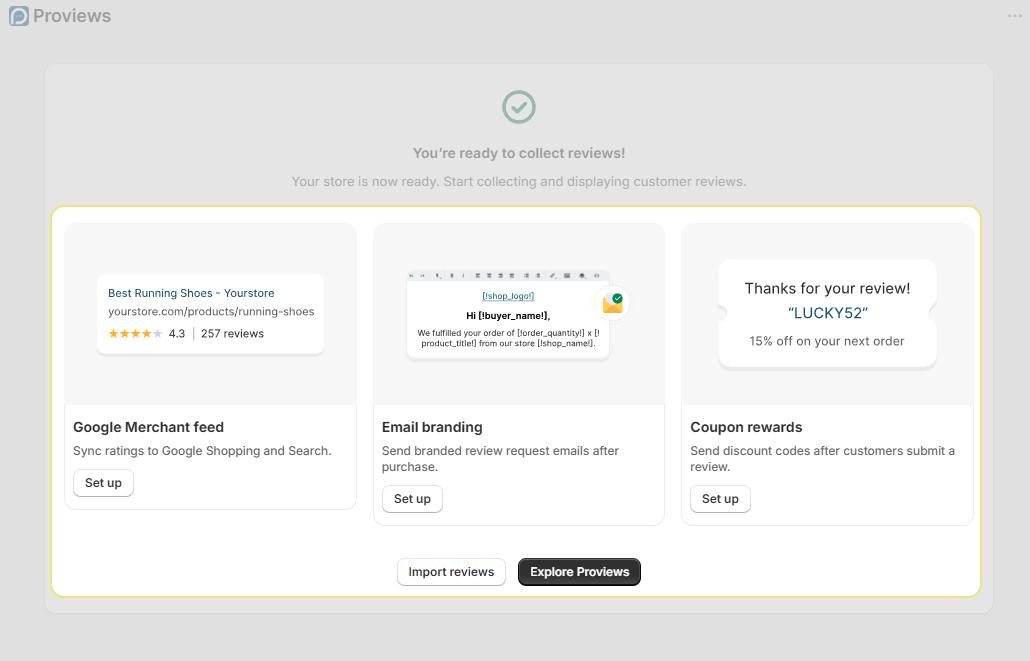
Step 5 - Finish setup
- Select Finish.
- Proviews syncs your store data in the background.
- Explore the app right away — syncing continues while you work
Need Help?
Click “Help Me” and our chatbot will appear. You can then ask questions or request assistance in real time.
For email support, feel free to reach out to us at support@simprosys.com
Next article

Proviews ‑ Product Reviews Q&A
Legal Policies
Setup & Configuration
Additional Information
Installation Processes
Feature Policies & Guidelines