How to send a supplementary feed to Facebook and Instagram?
The Supplementary Feed is usually required when we need to provide additional product information which is not provided along with Primary Data Source. It is also used to add certain new attributes or update the values for already submitted attributes.
Supplementary feeds can’t update certain fields such as content ID, title, price, availability or quantity. Your template includes the fields that you can update.
So now, If your store requires you to keep the Existing Product data in your Shopify store untouched, but it also requires you to submit customised product data to your Meta Business Manager Account, then in such a case, submitting Supplementary Feed for your Facebook catalogue would be the best option for you.
Now, when you have found the solution for your problem but the actual implementation of supplementary feed submission would be tedious and time-consuming.
So we have come up with a solution that would ease your work. Our Feed For Google Shopping App will automatically create and submit Supplementary Feed under the selected product catalog within your Meta Business Manager Account.
So let’s get acquainted with the process of Supplementary Feed submission from our app.
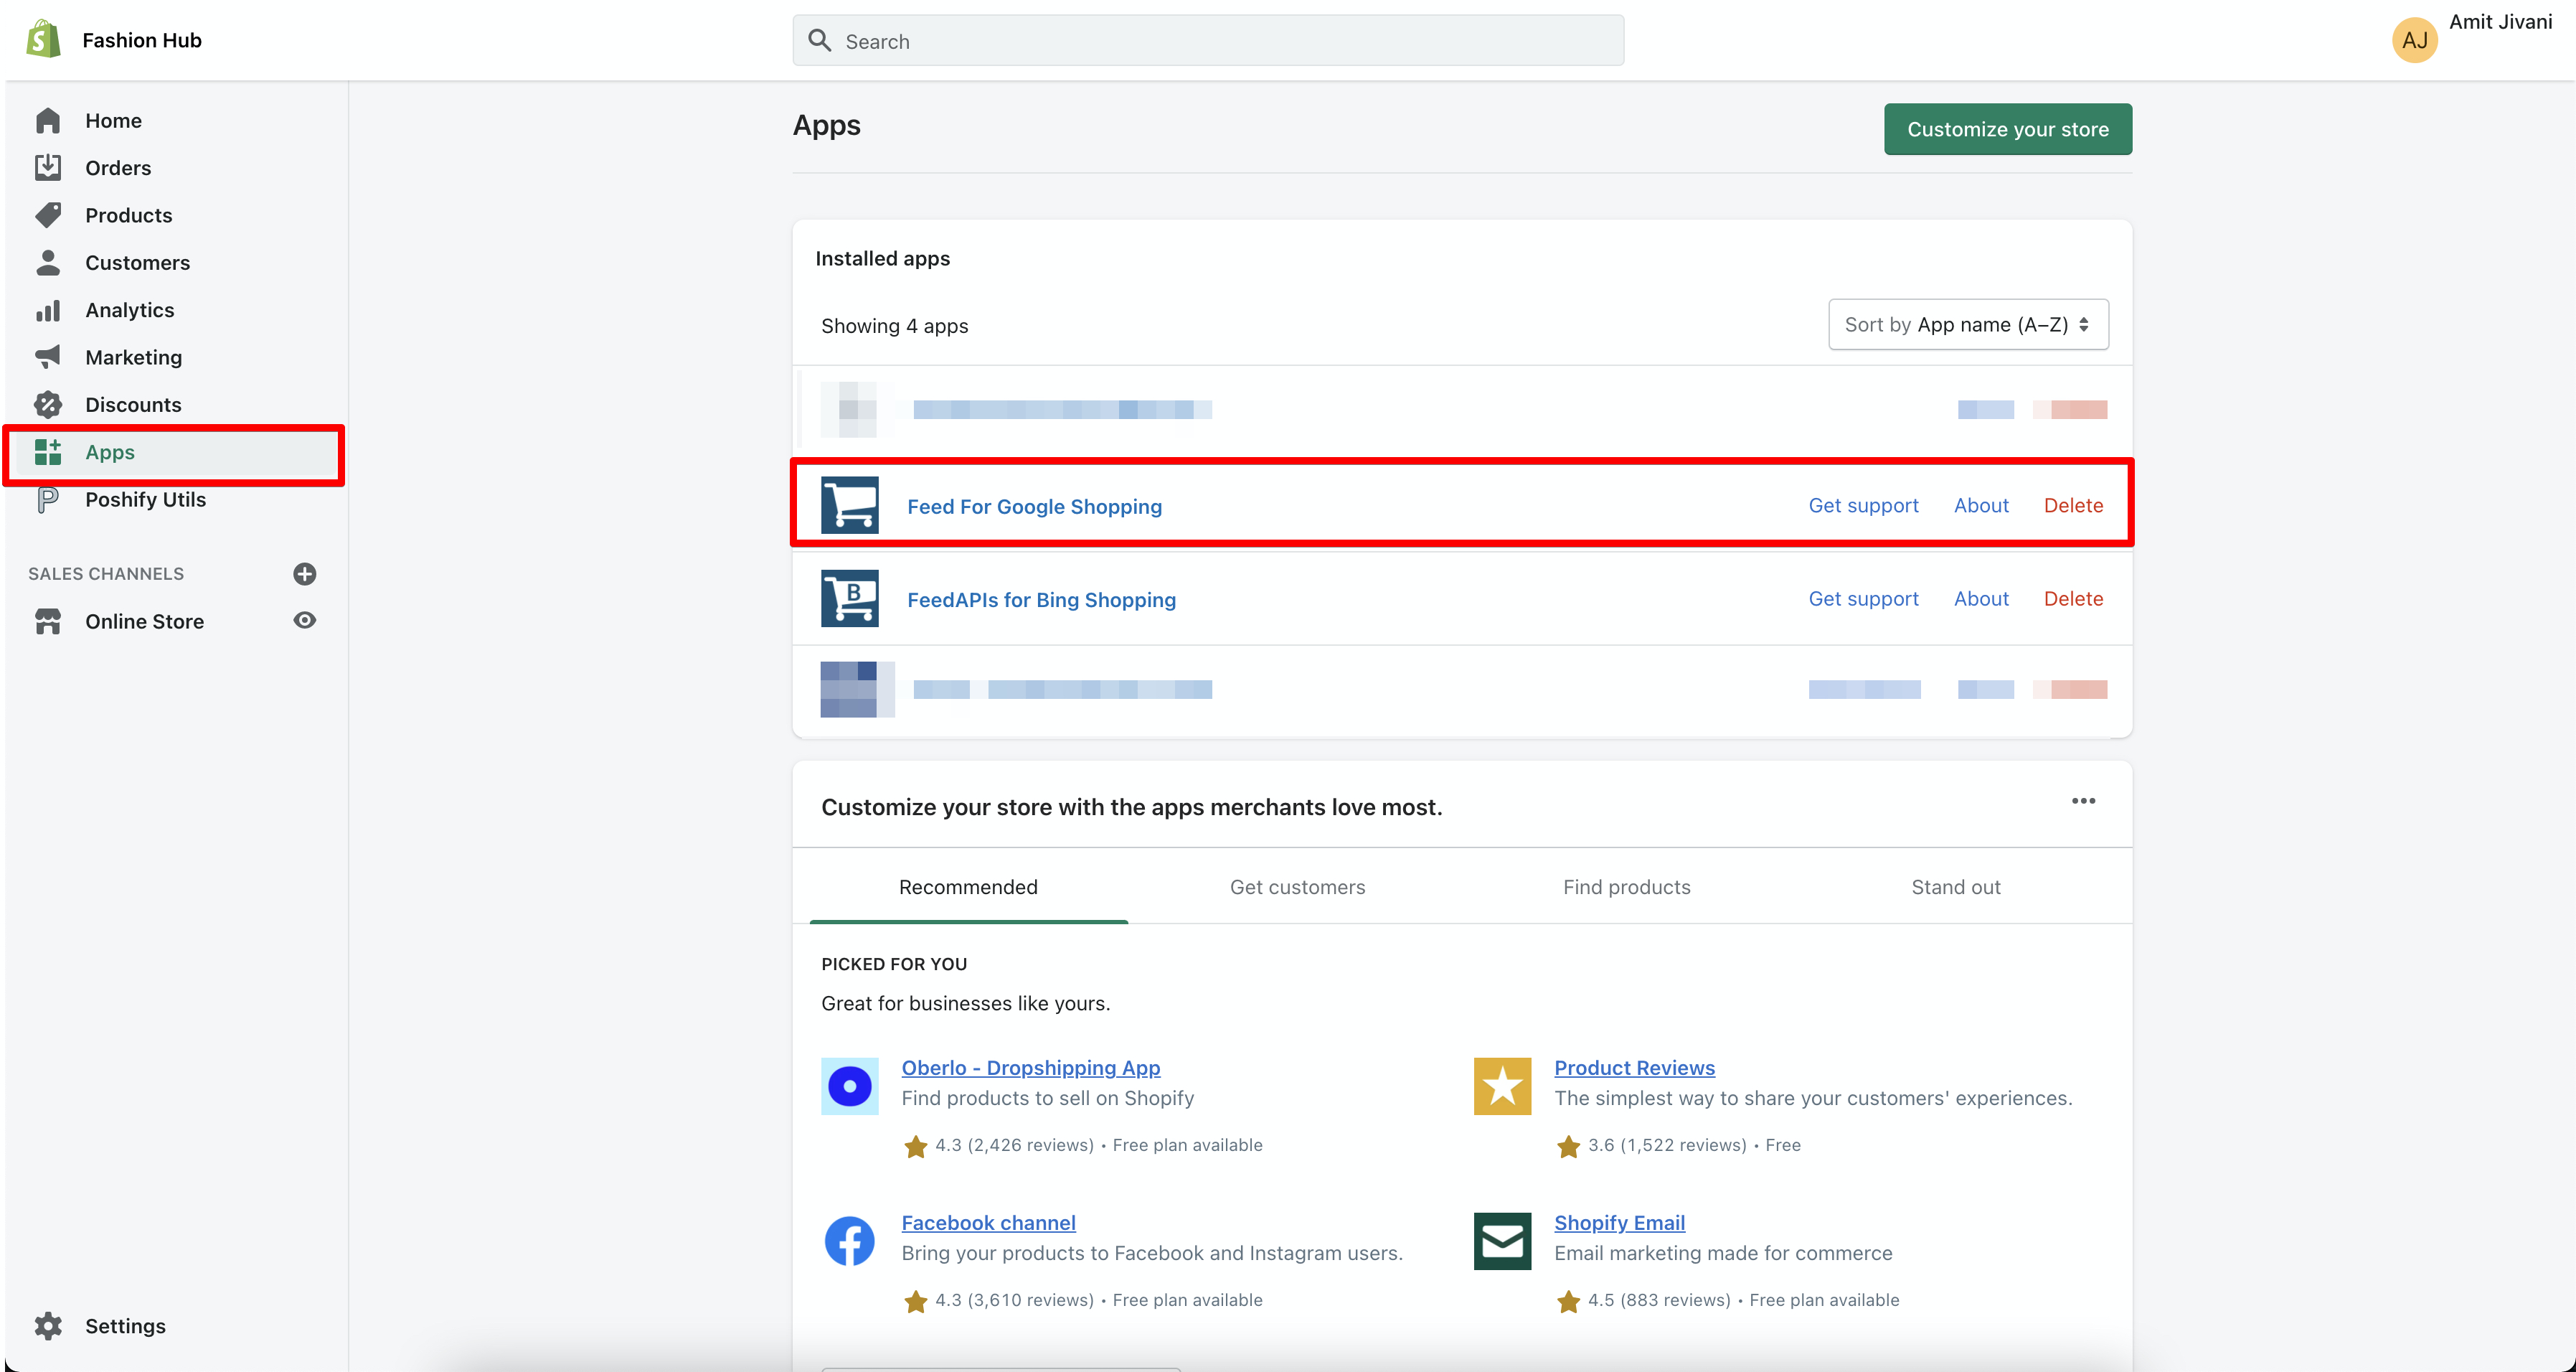
Step 1: Kindly Log into your Shopify Store Admin
Step 2: Navigate the Apps section and open the Feed For Google Shopping App by clicking on it name.
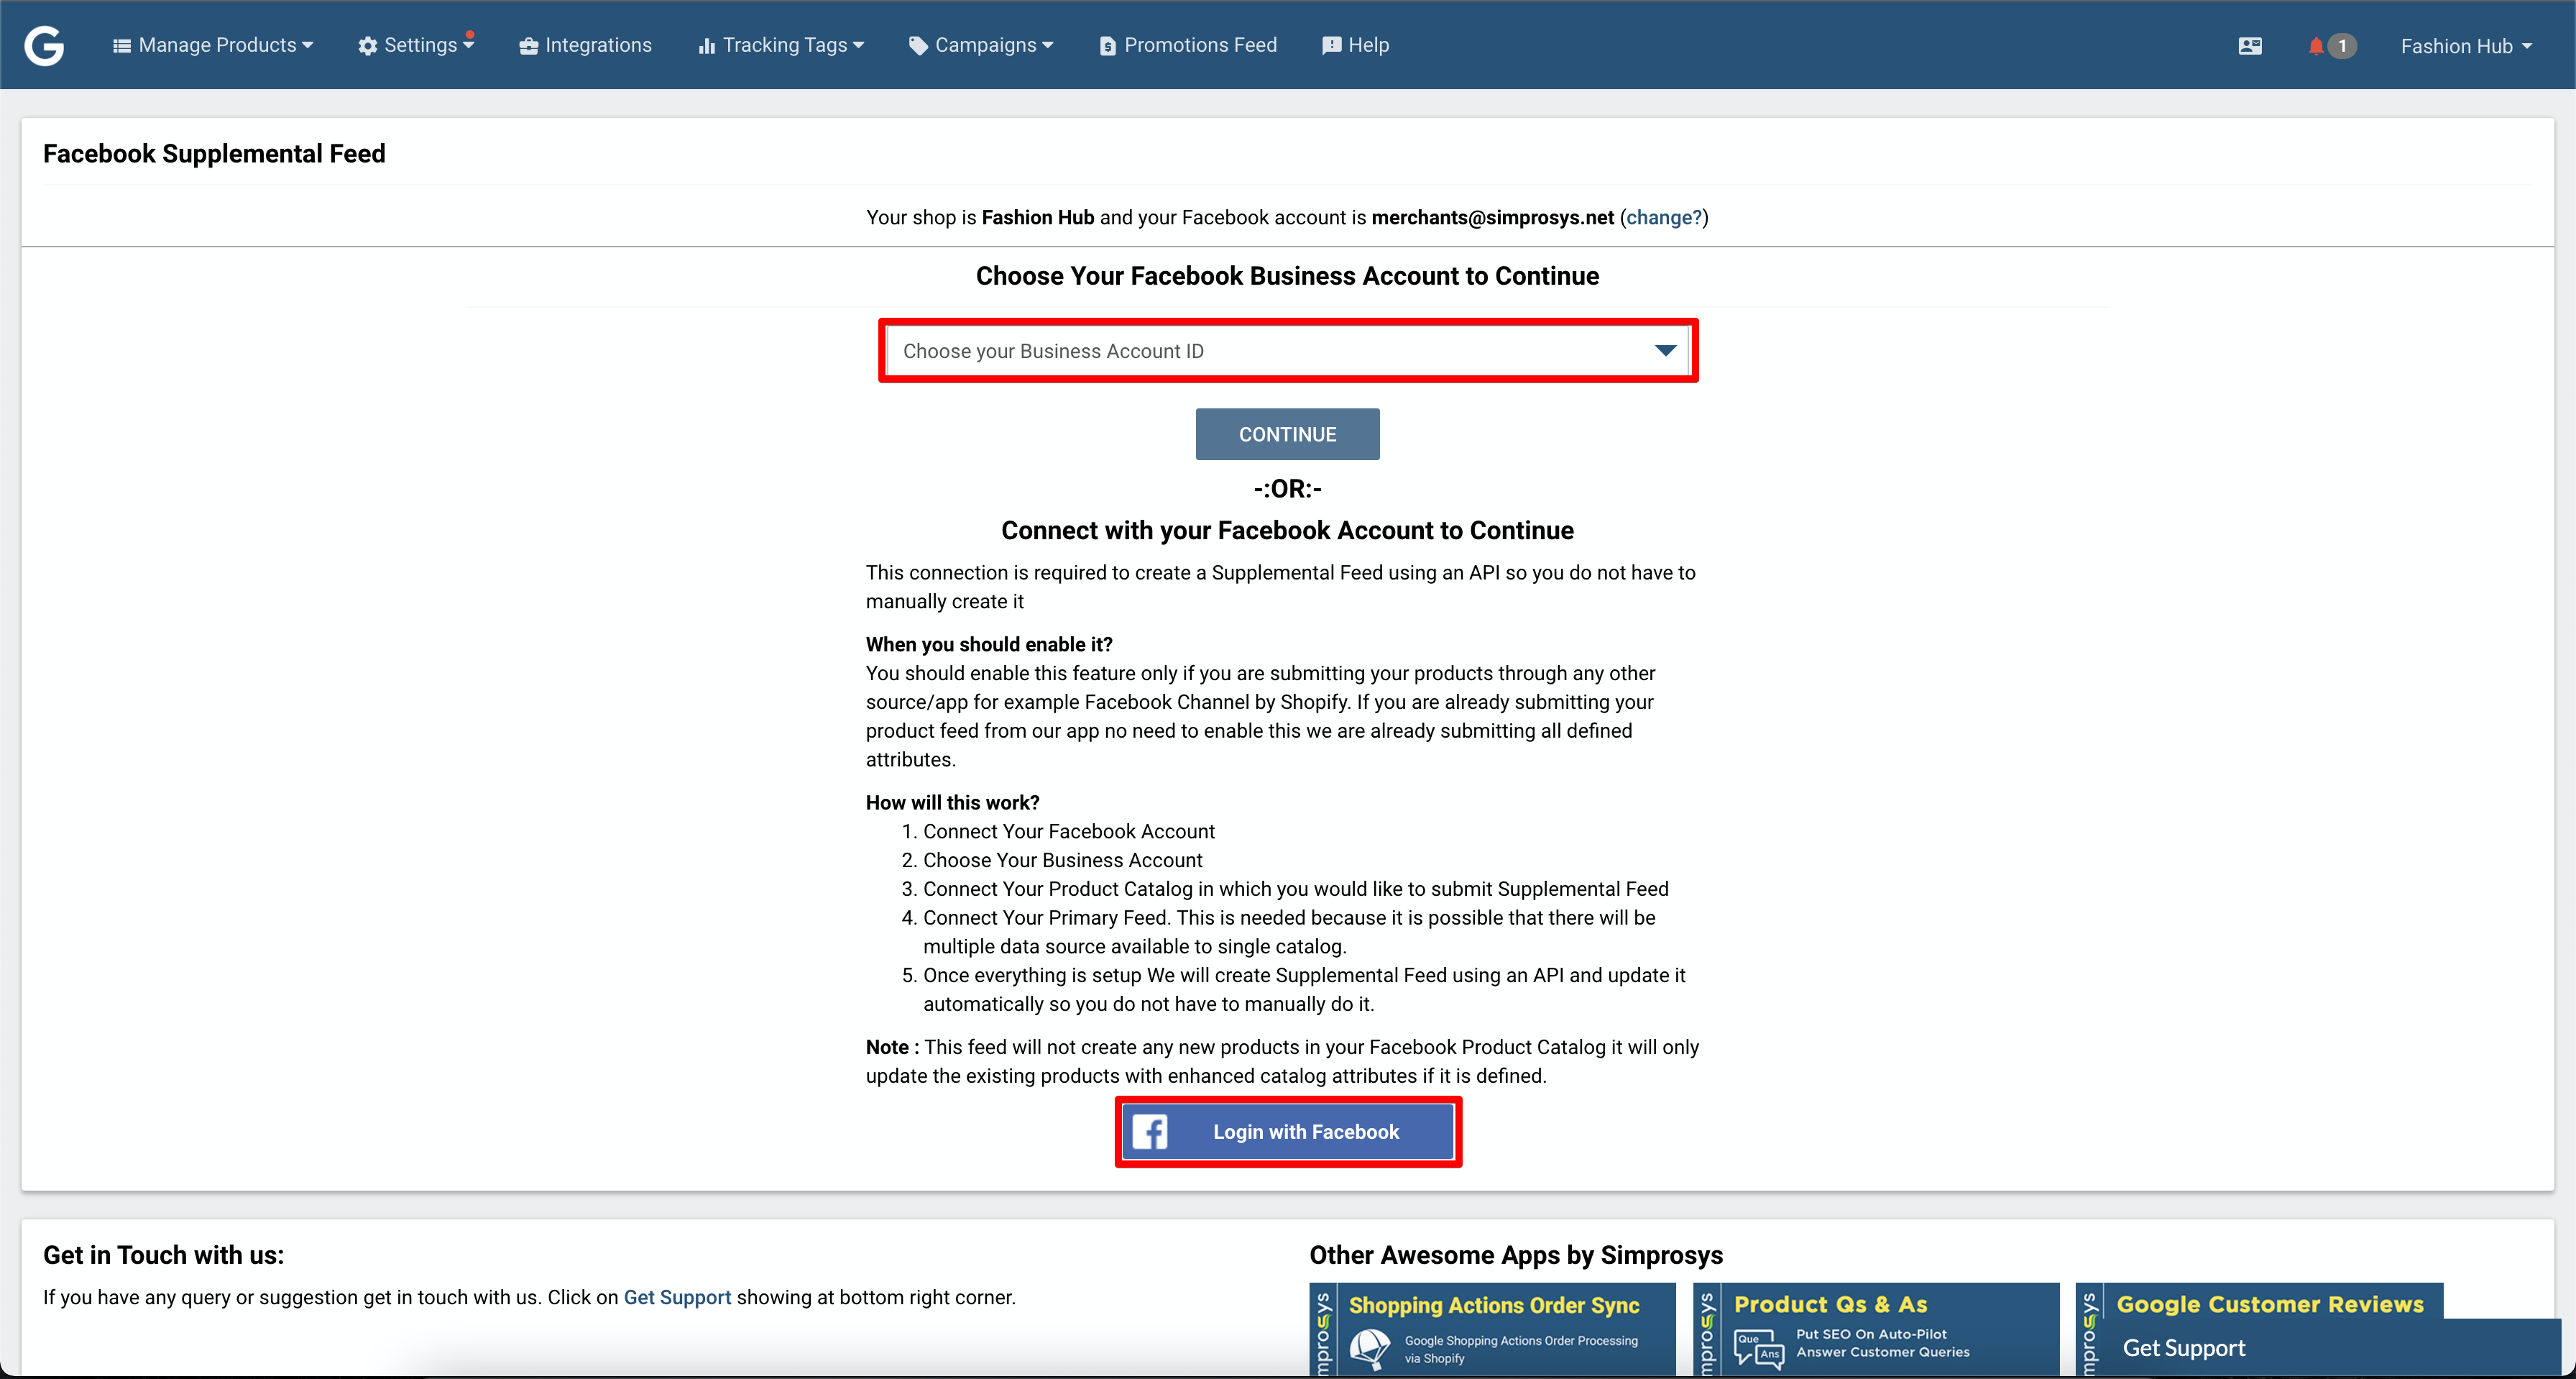
Step 3: Hover over the Settings from the Main Menu and click on the “Supplementary Feeds for Facebook and Instagram”.

Step 4: On the Feature page, you will be either asked to link your Meta Business Manager Account or you will be given an option to choose the Meta Business Manager Account ID, if you are already using our Feed For Google Shopping App for Meta Product Catalogs ubmission.
Step 5: As soon as Meta Business Manager Account is chosen, it will display a second drop-down menu for selecting Catalog from the lists of Catalog which are available under the selected Meta Business Manager Account.
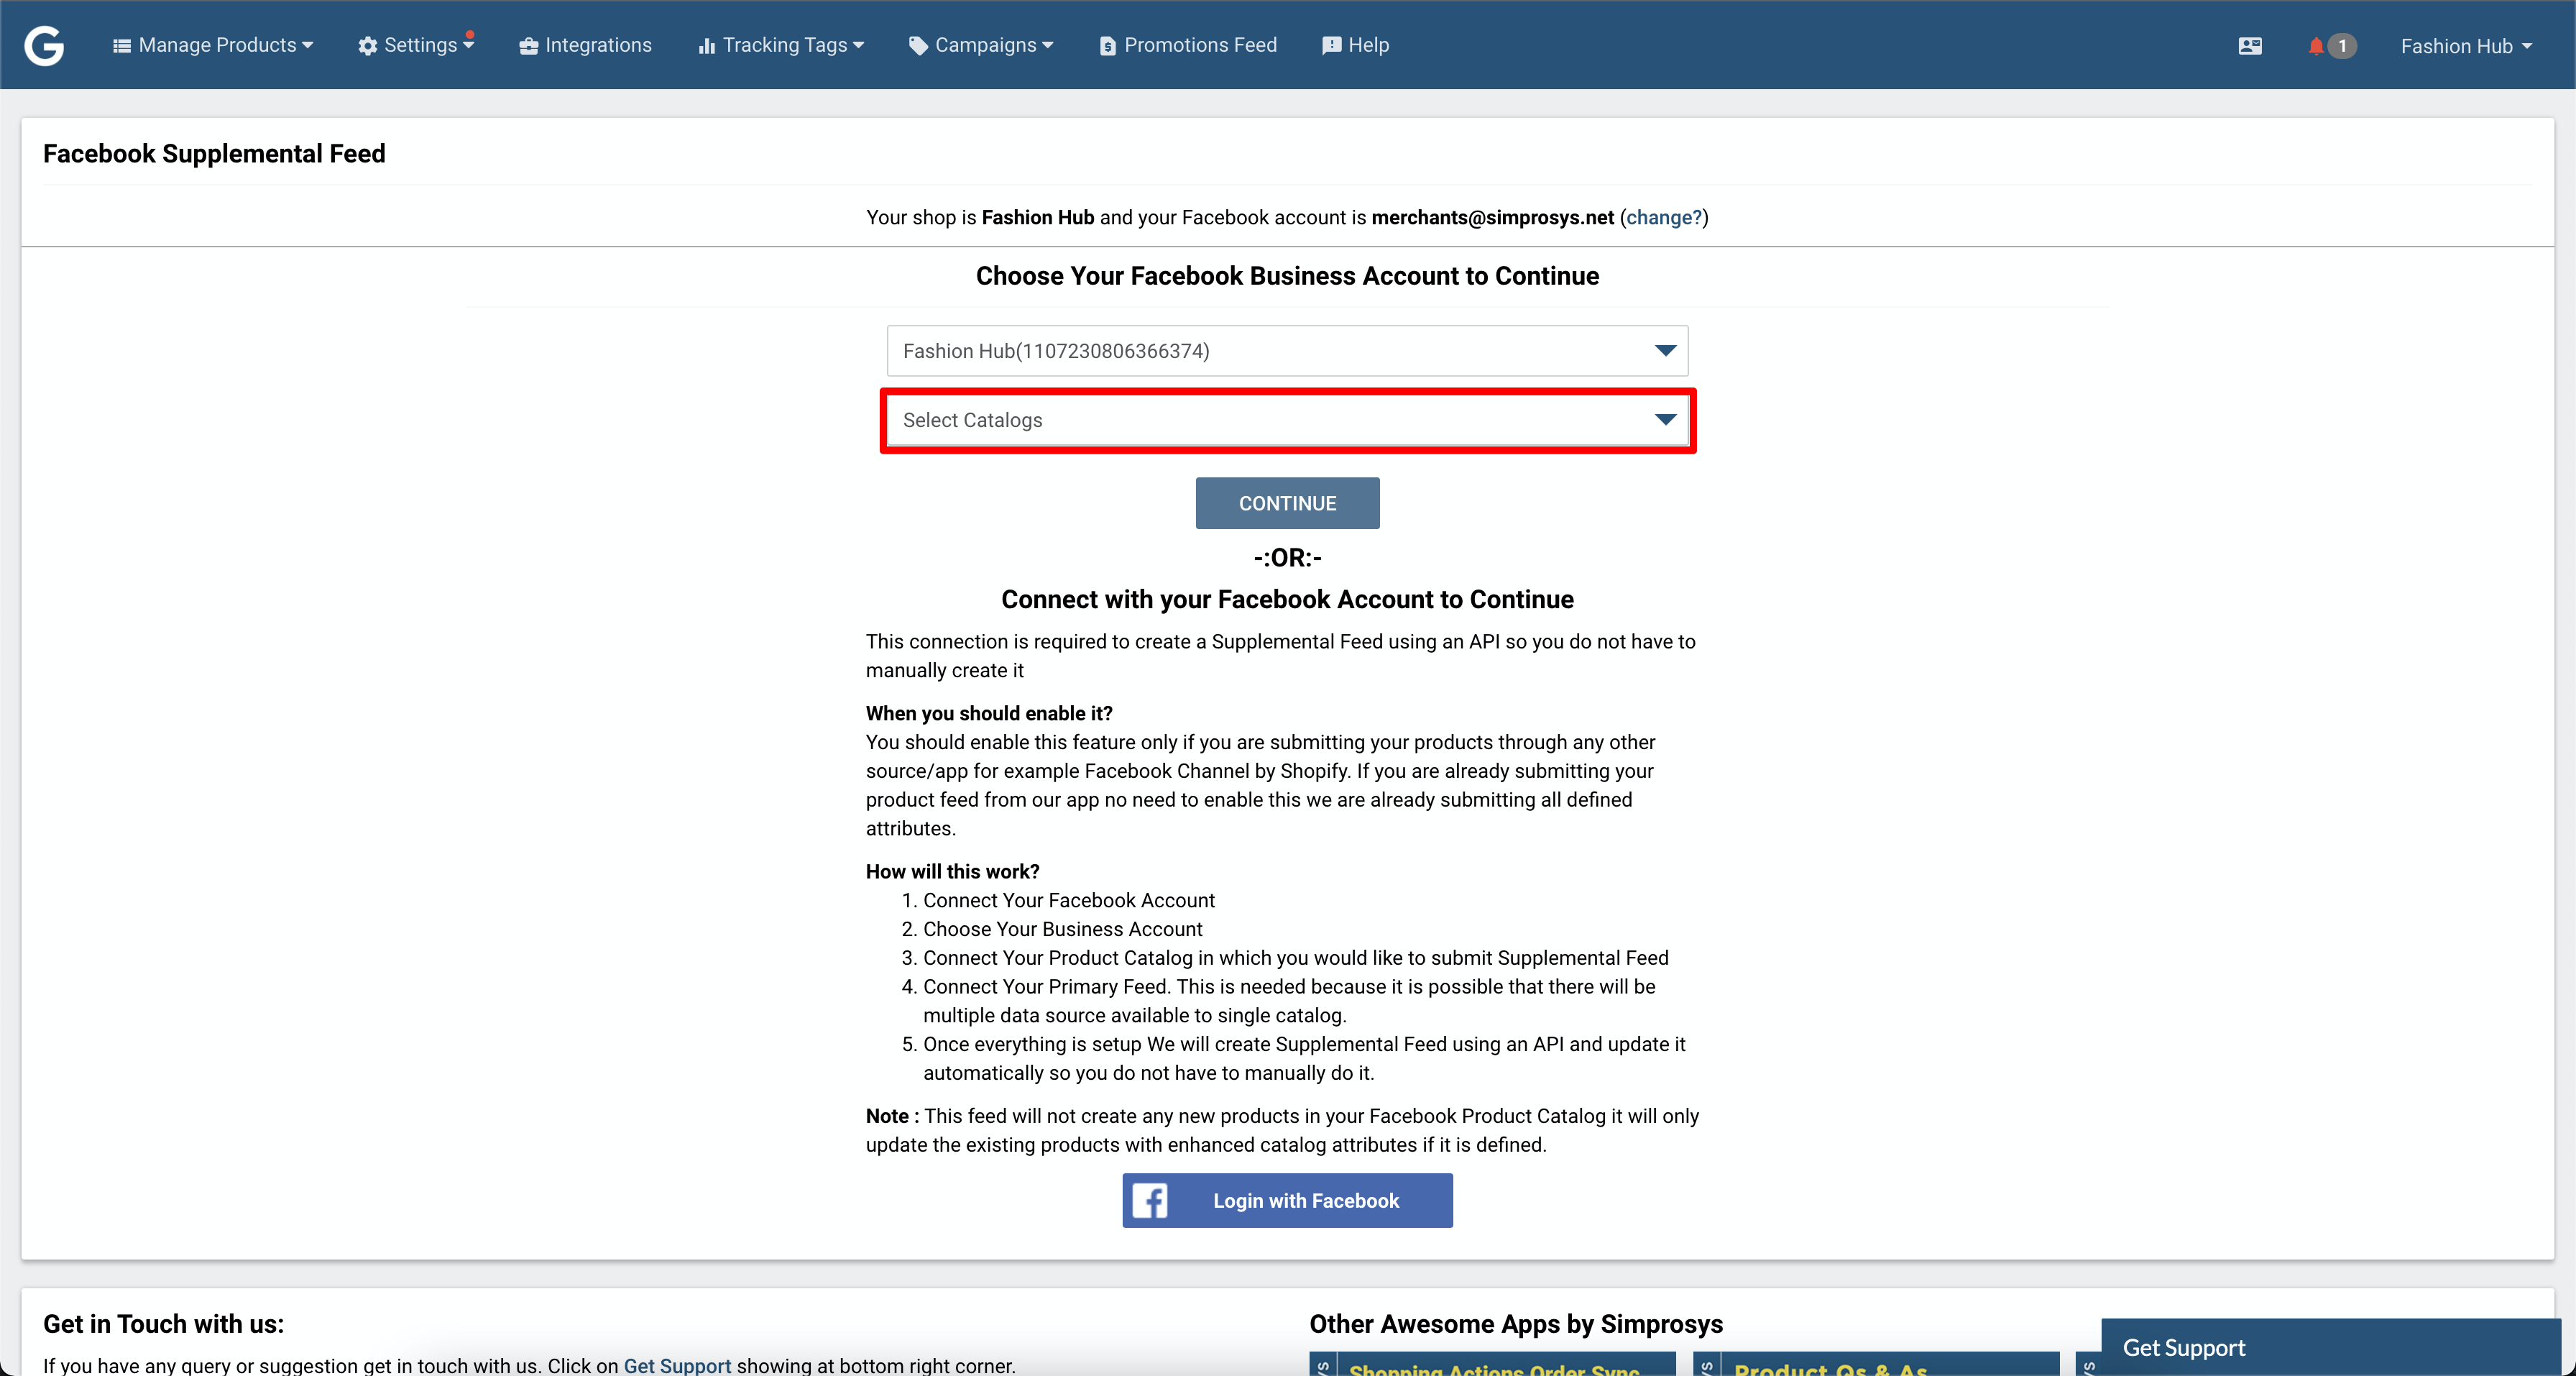
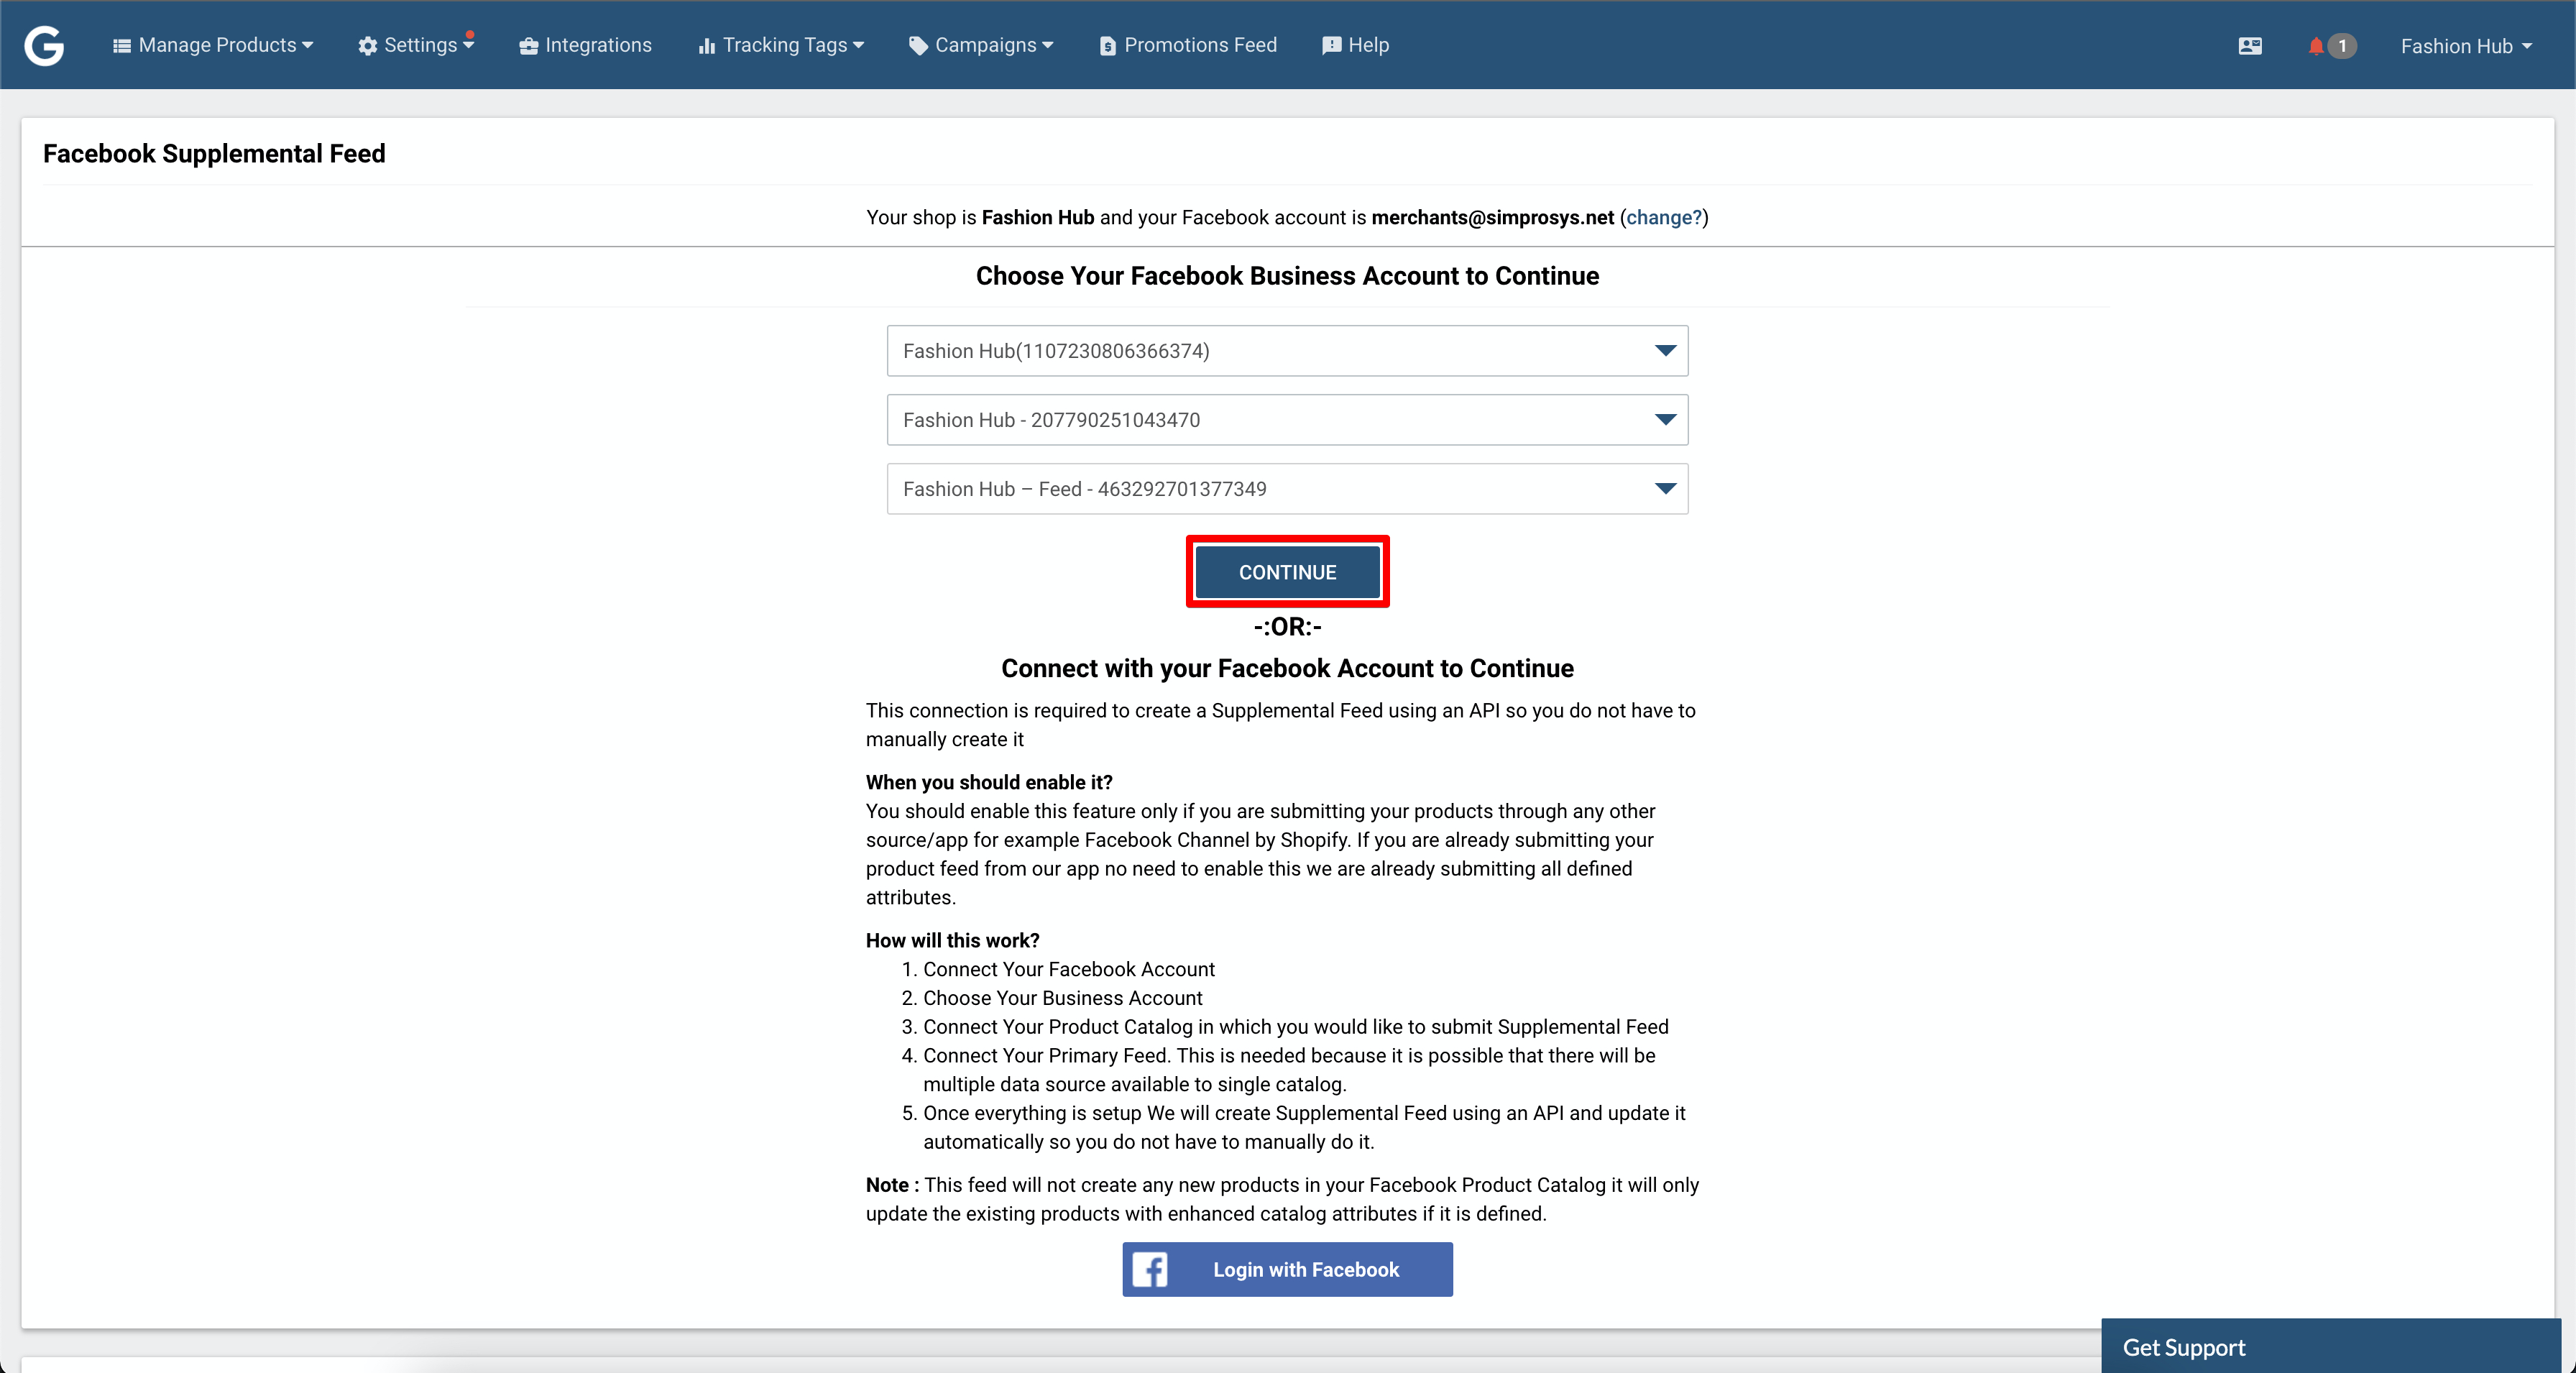
Step 6: Finally, It will display the 3rd drop-down menu for choosing the Primary Data Source, so App can decide which Product data source they need to use to integrate with and submit a Supplementary Feed.
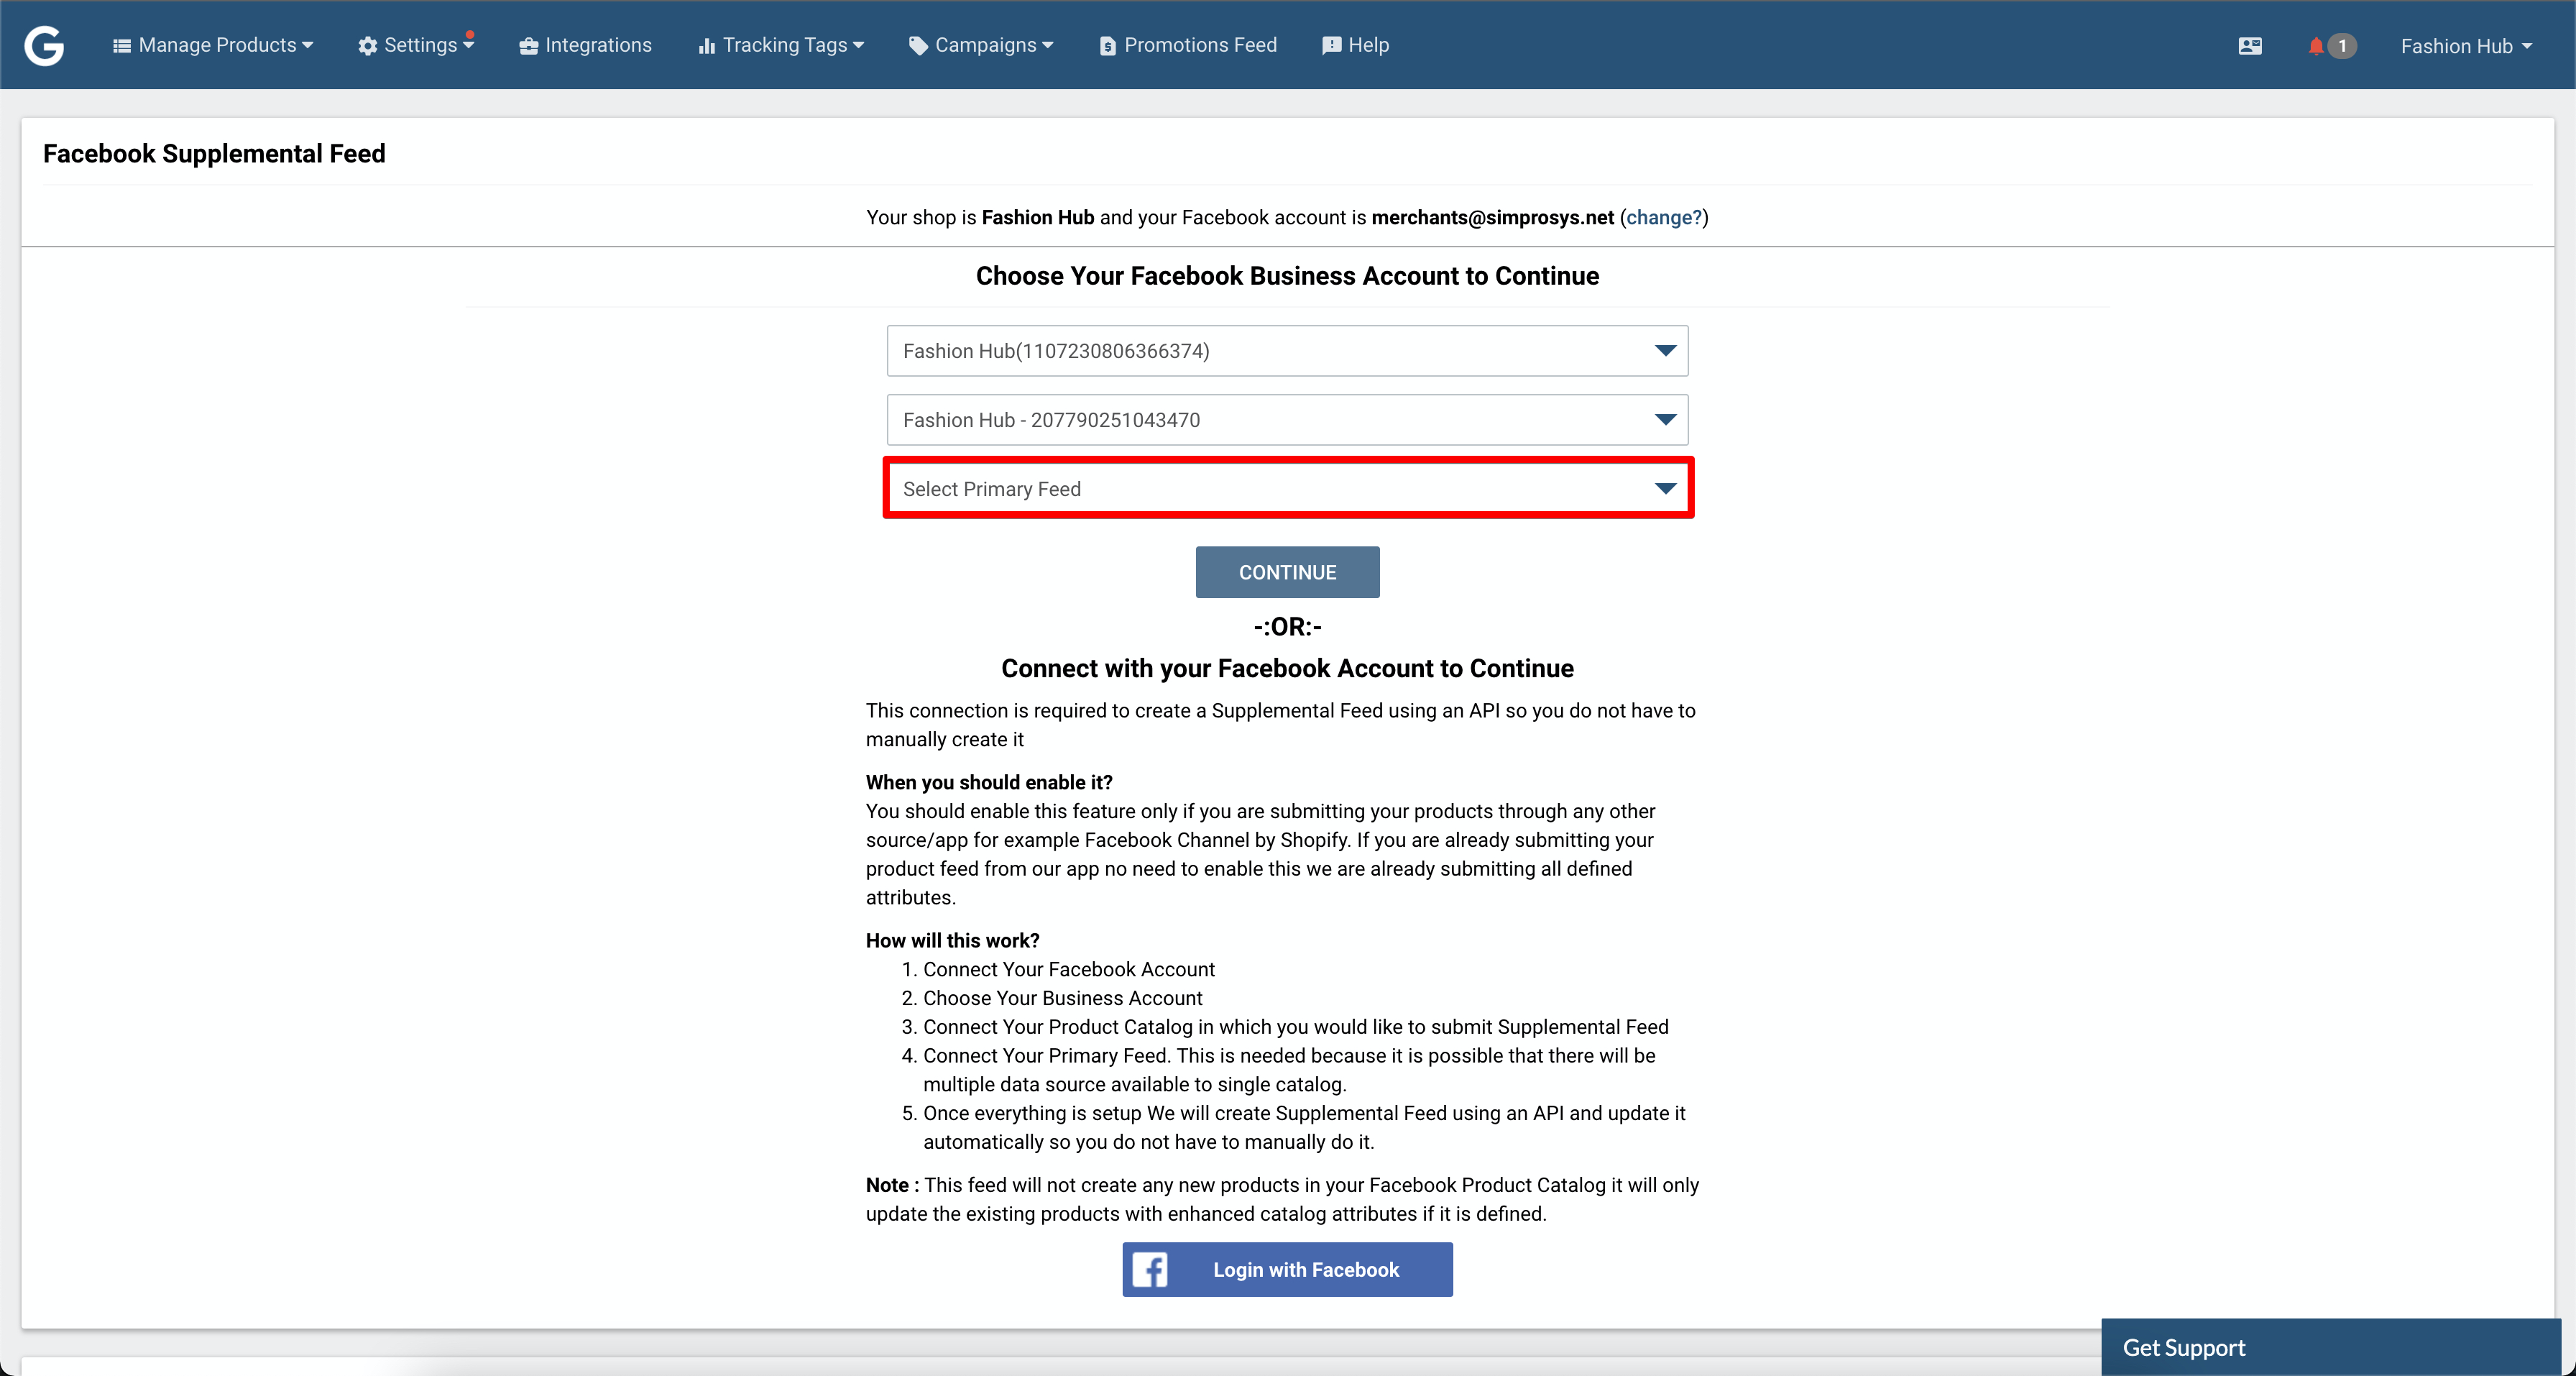
Step 7: Once Everything is chosen correctly, We can proceed ahead by clicking on the “Continue” button.
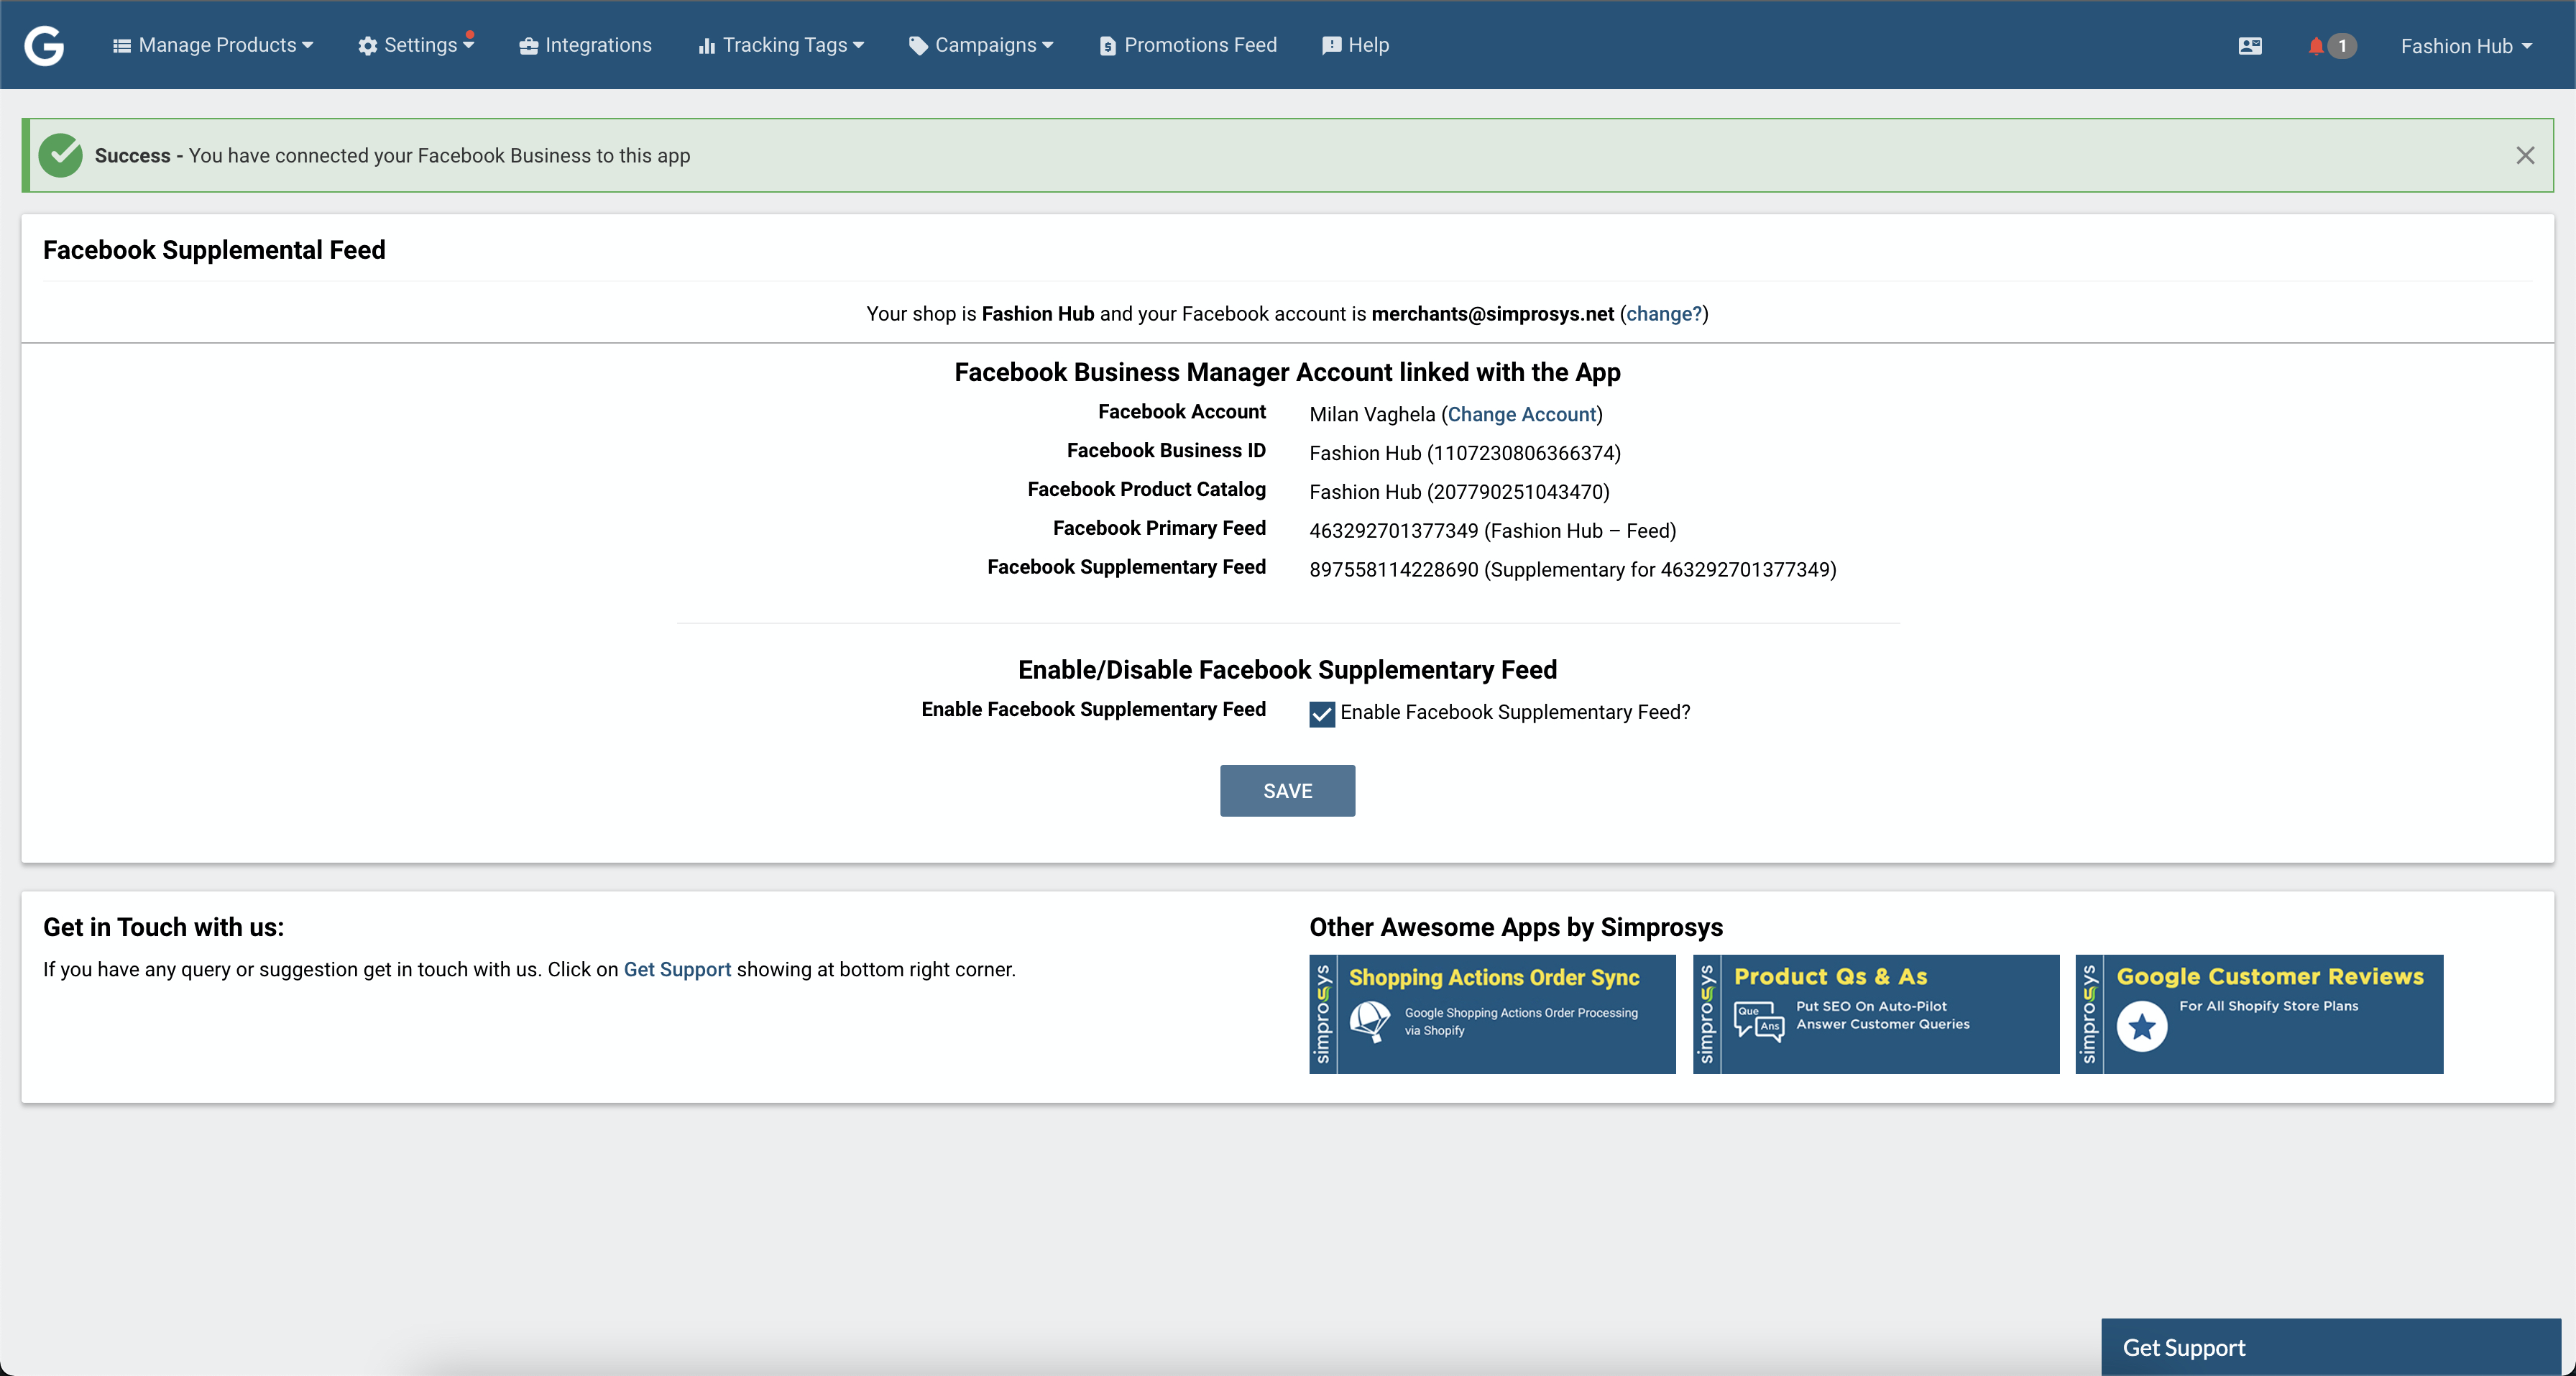
Step 8: Click on the Continue Button and complete the integration, it will display the Success Message along with details of our Meta Business Manager Account and the name and id of the Supplementary Feed it has submitted to the Facebook and Instagram Product Catalog. So with this, we are done with submitting a Supplementary Feed for your Meta Product Catalog.
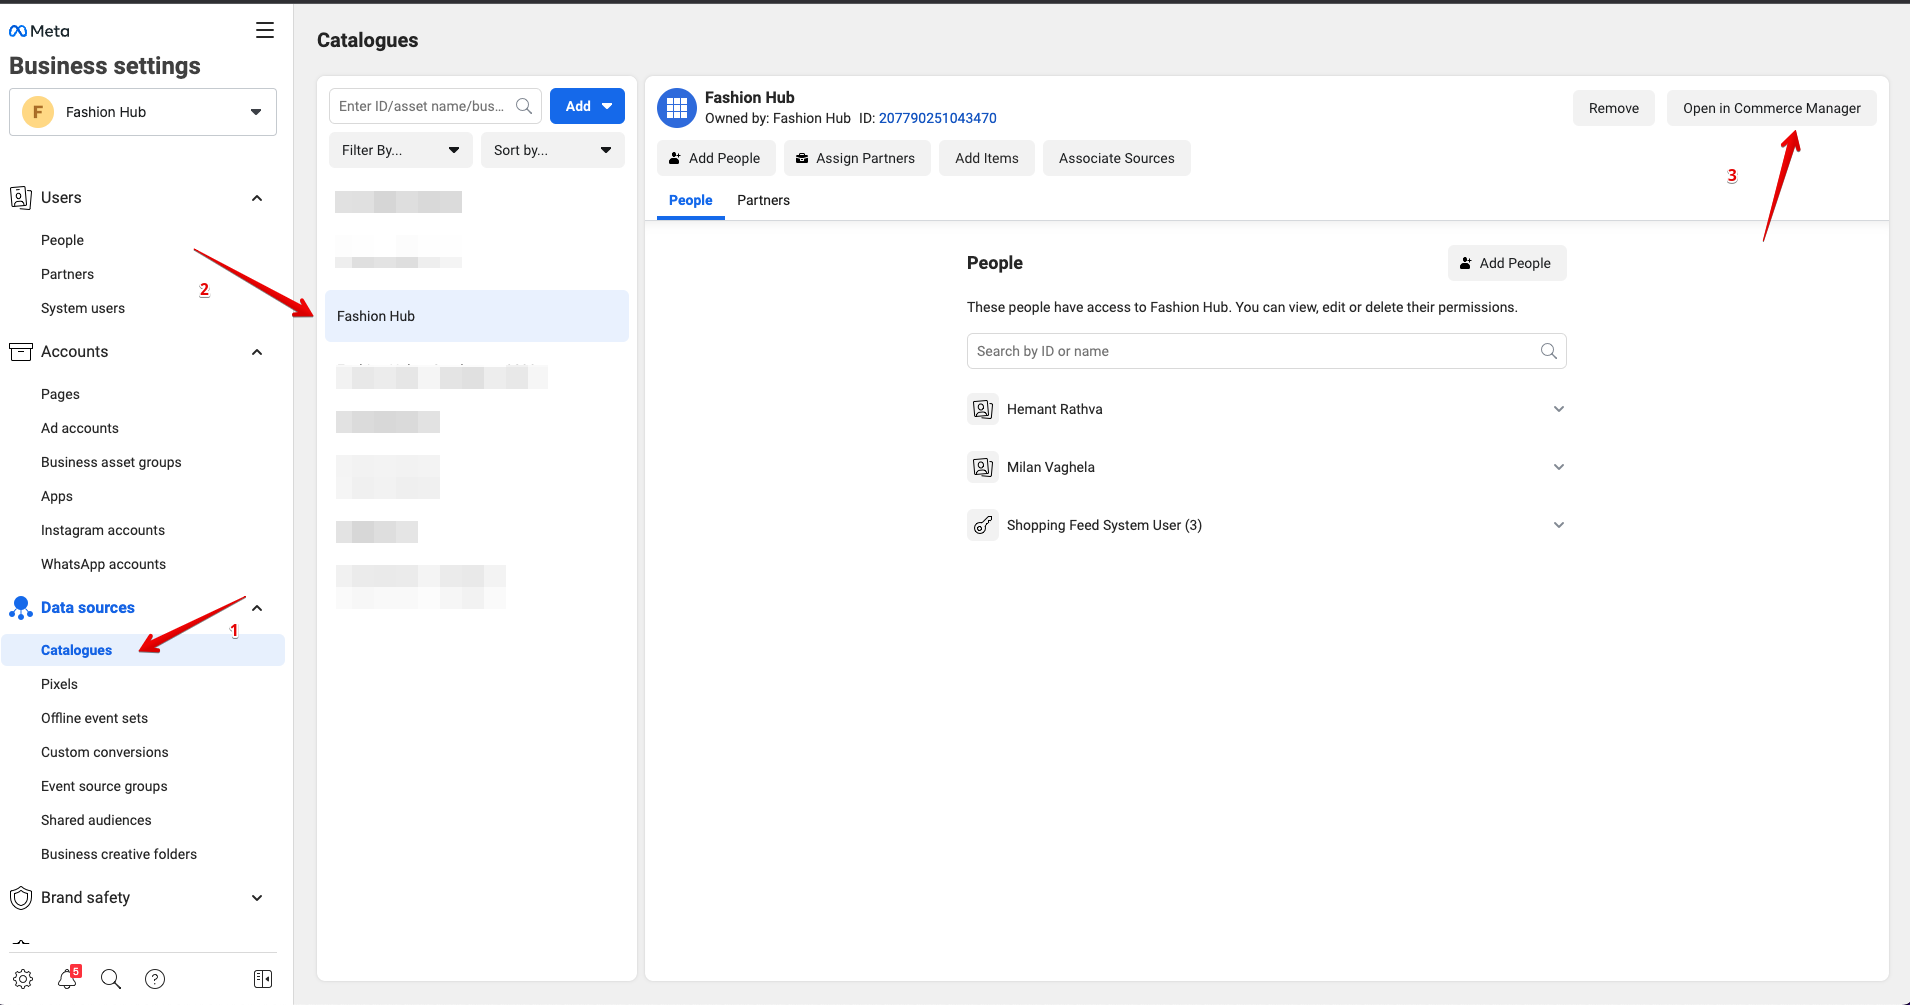
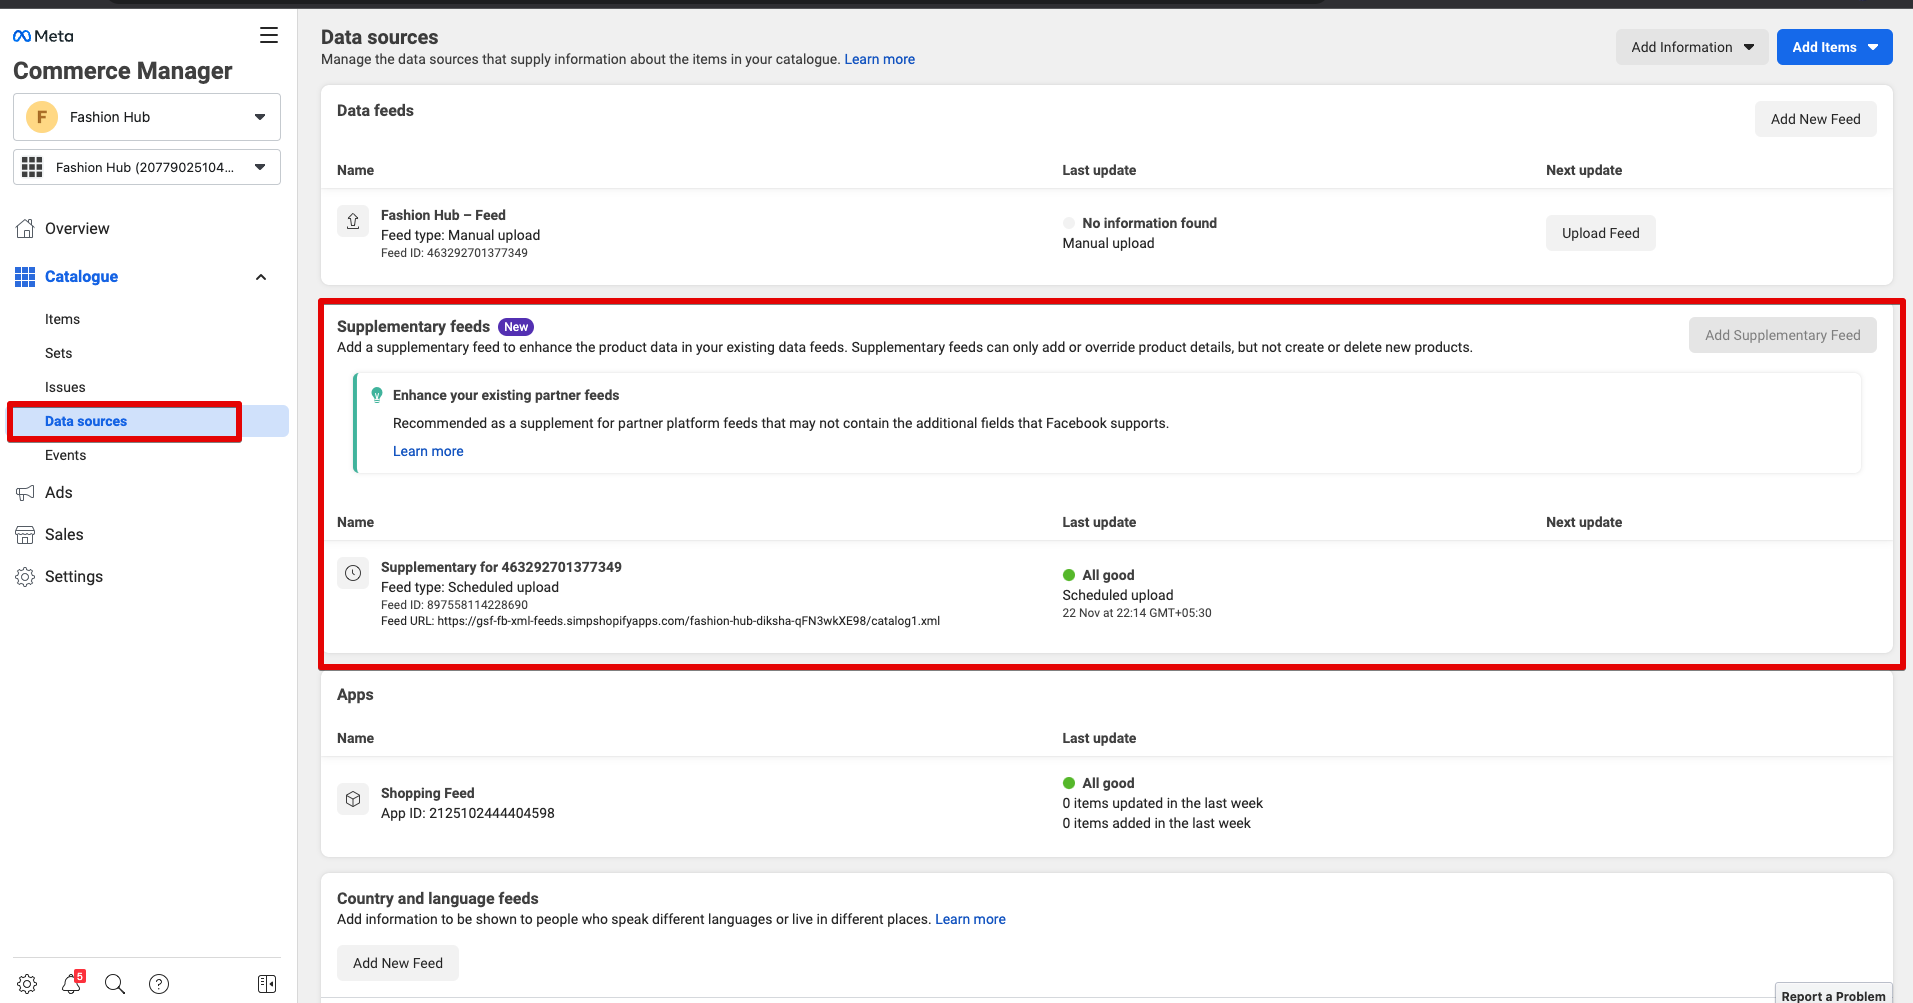
If you want to check the status of your supplementary feed, you can with the Meta Business Manager Account. Please log into your Meta Business Manager Account in a new tab.
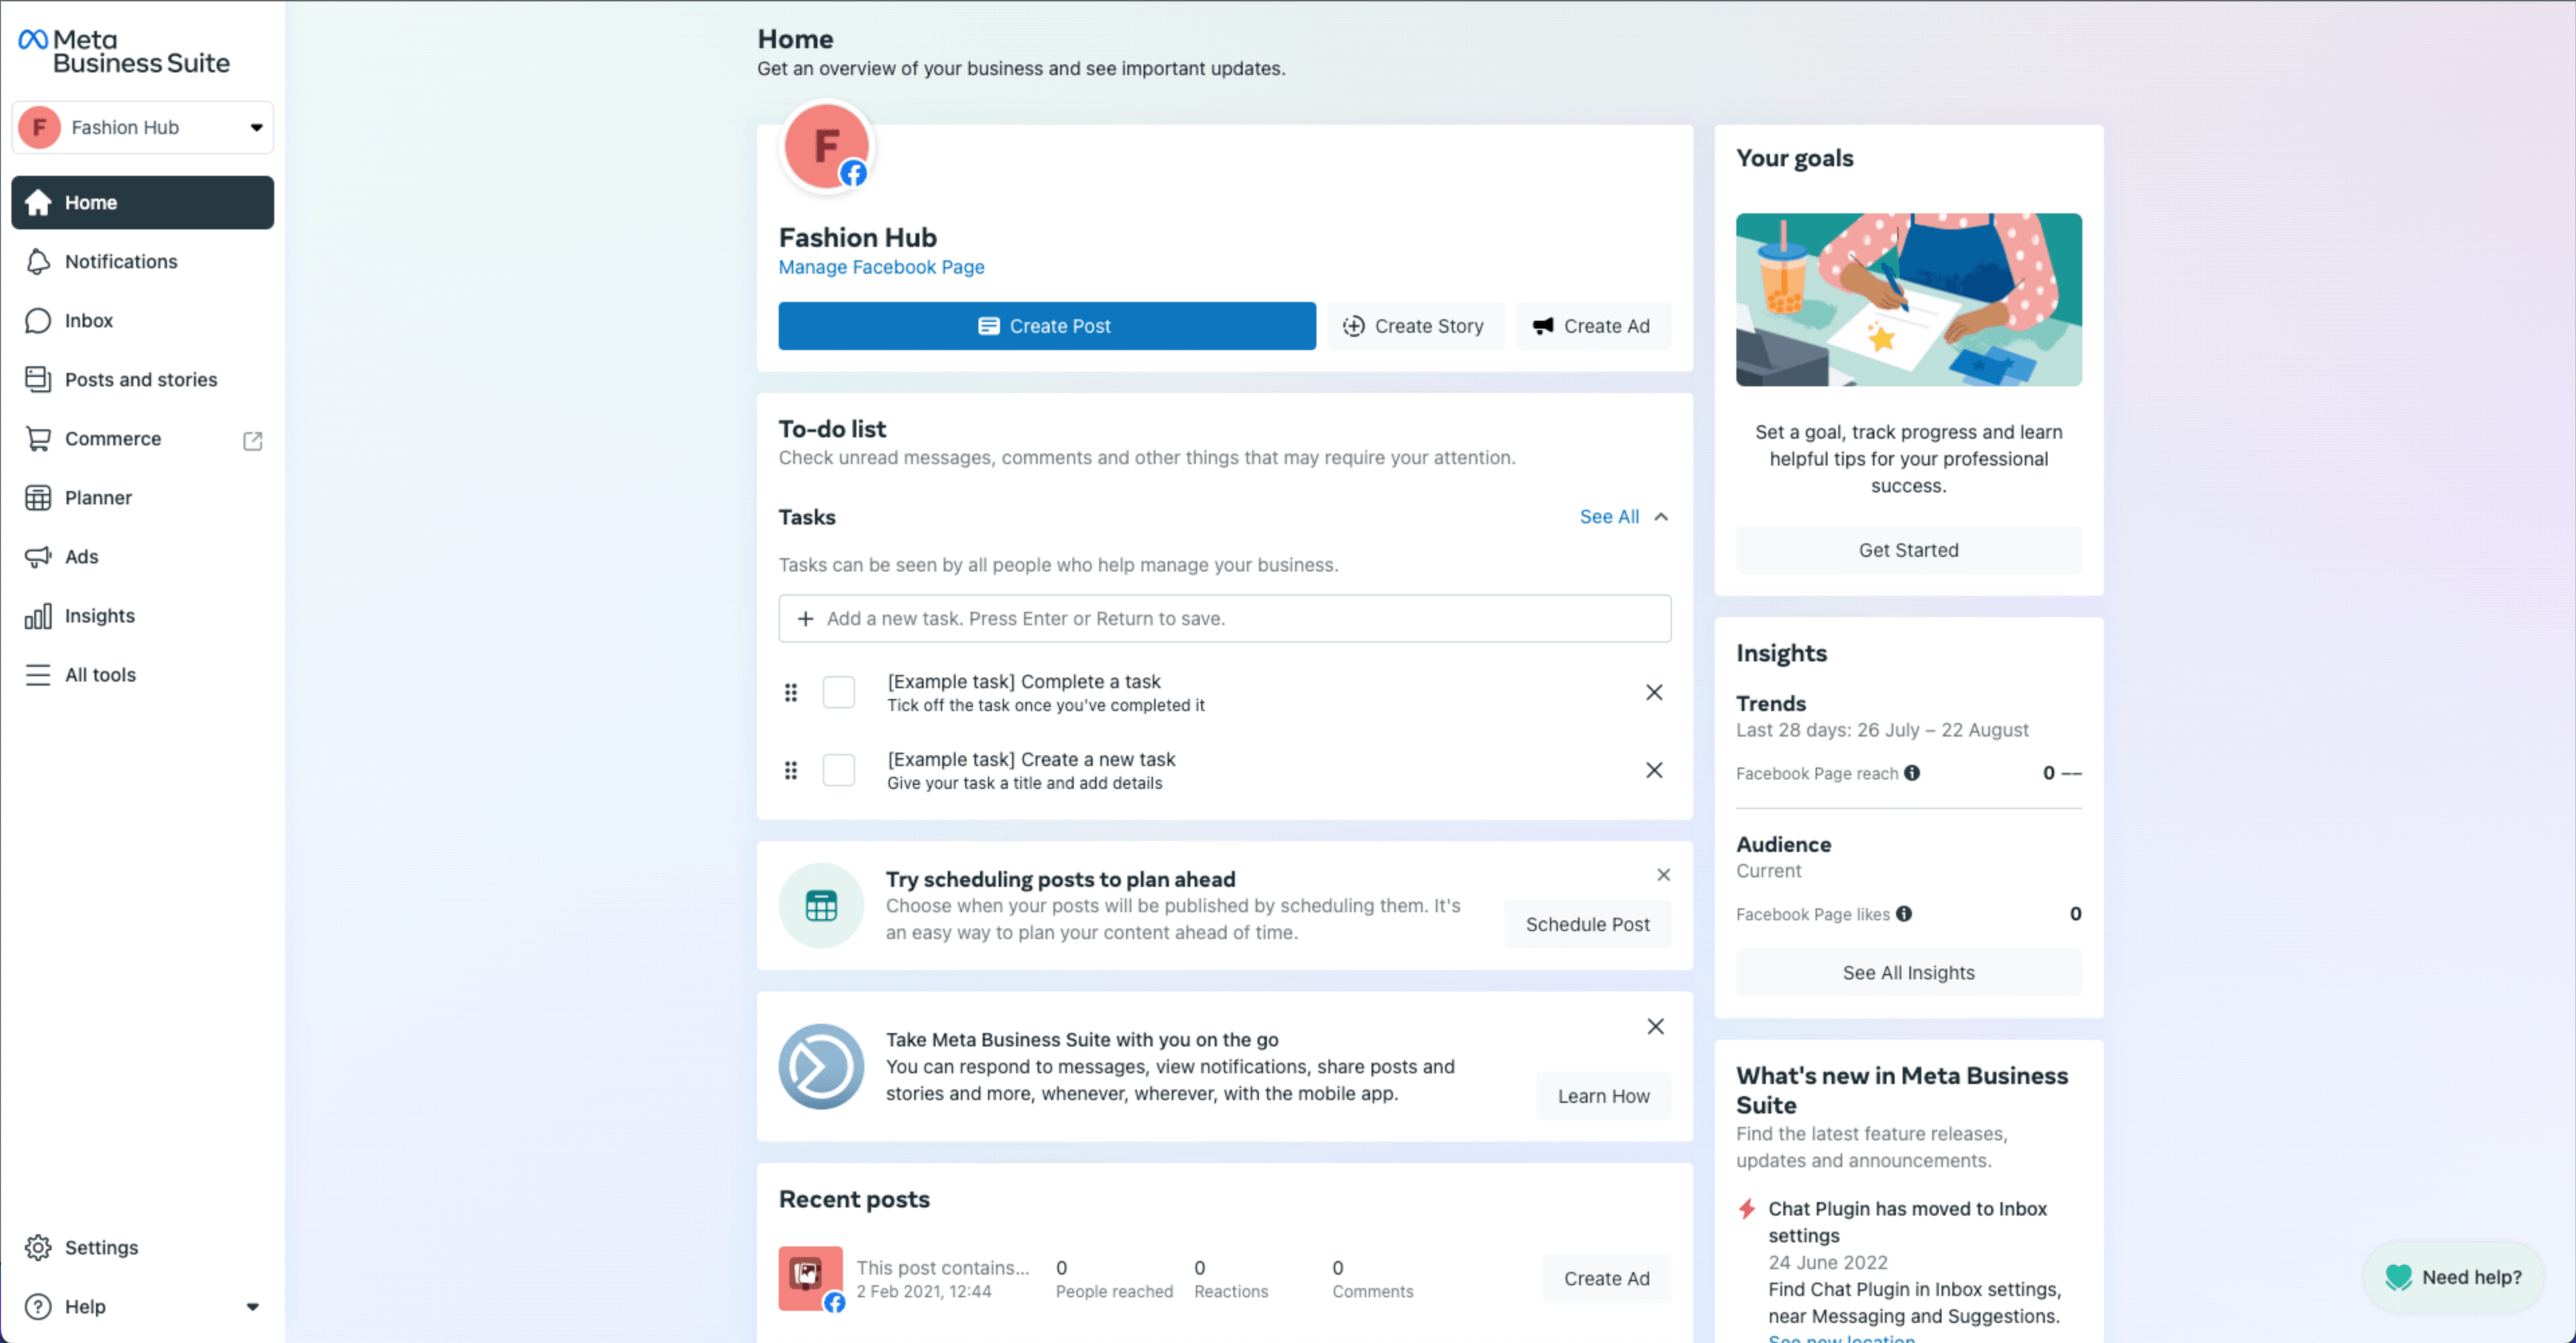
Then navigate to the Catalog section which is available under Data sources. It will show you a list of catalogs which are available under this particular Meta Business Manager Account. Please select the Catalog name from the second side menu and click on the “Open in Commerce Manager”.
 Hope this helps!