

Proviews ‑ Product Reviews Q&A
Legal Policies
Setup & Configuration
Additional Information
Installation Processes
Feature Policies & Guidelines
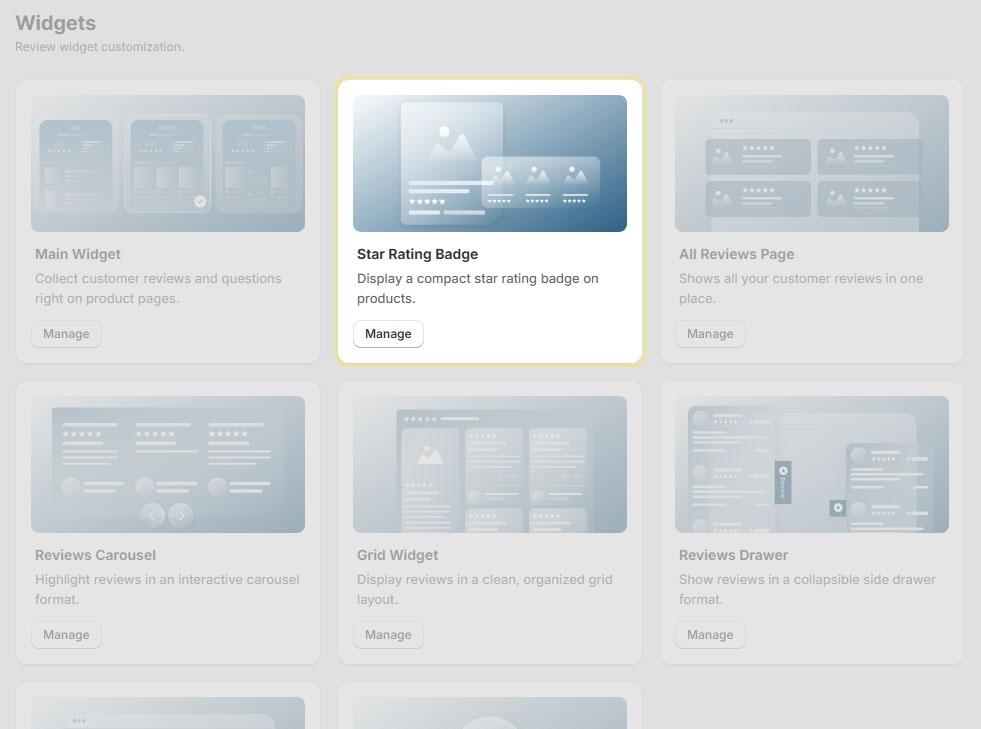
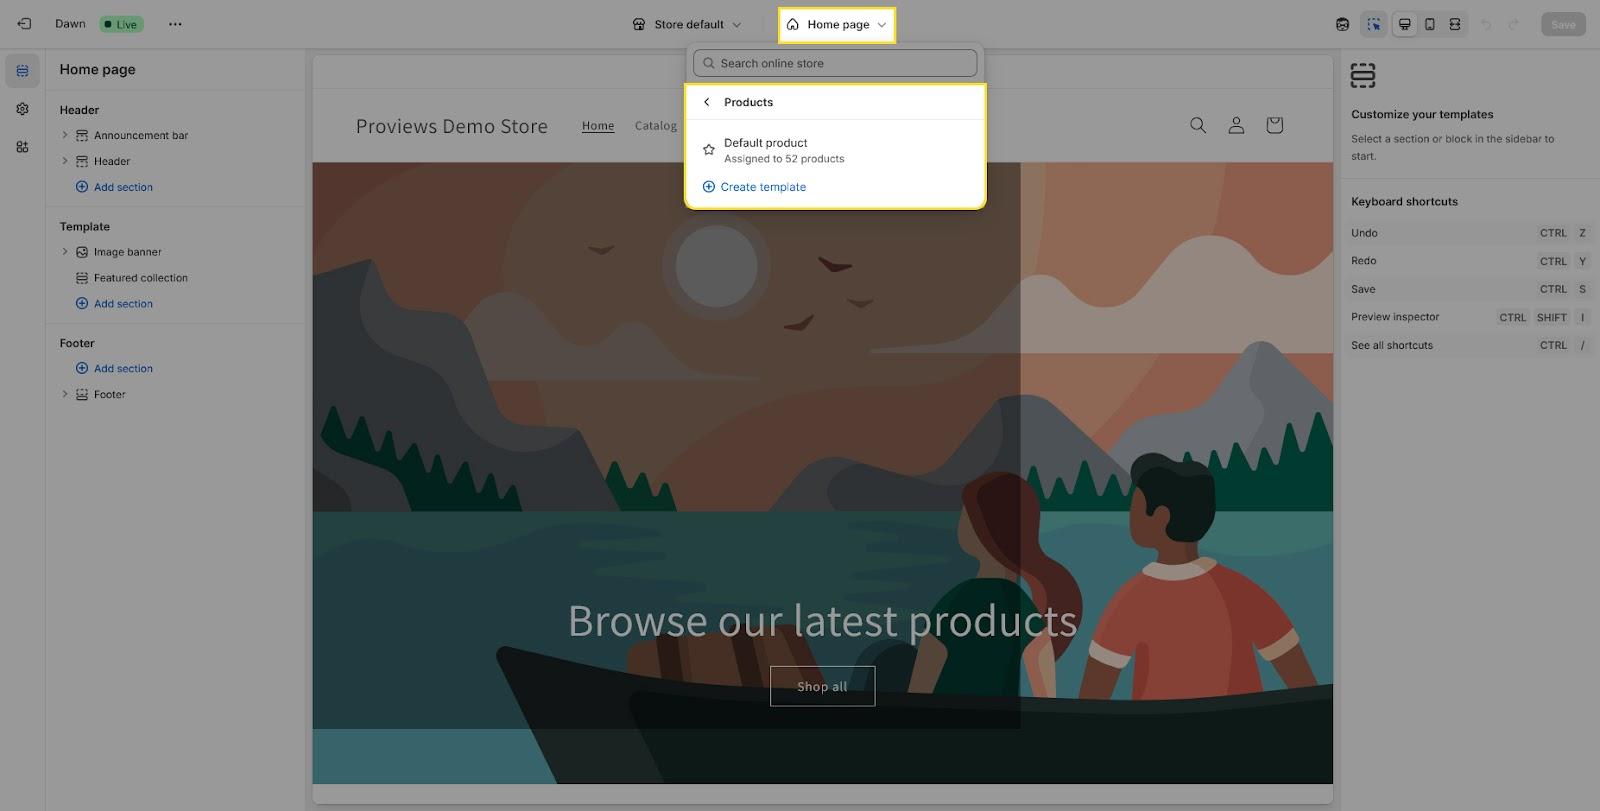
Integrate Star Ratings on Product Page in Shopify Theme
Jun 12, 2026
Overview
Star Ratings display your product's average rating and review count directly on your storefront — giving shoppers instant trust signals before they open a product page. You can display them on product pages, collection pages, and search results.
Step 1 – Activate Star Ratings
- Open the Proviews app in your Shopify admin.
- Go to Widgets → Star Ratings.
- Toggle ON the Activate Star Ratings switch.
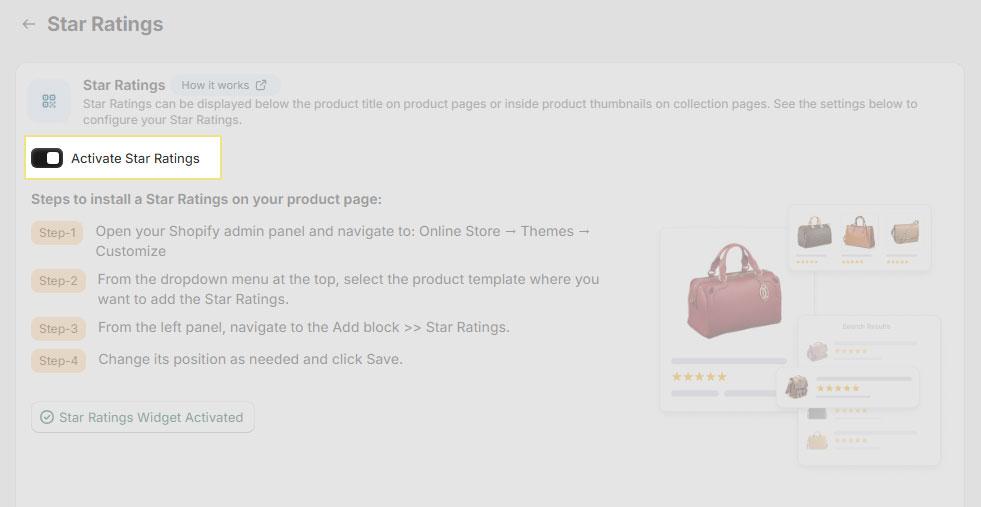
Important: Star ratings will not appear anywhere on your store until this toggle is enabled — regardless of whether the snippet code has been added to your theme.
Confirmed: Once activated, the status indicator on the page updates to show Star Ratings Widget Activated.
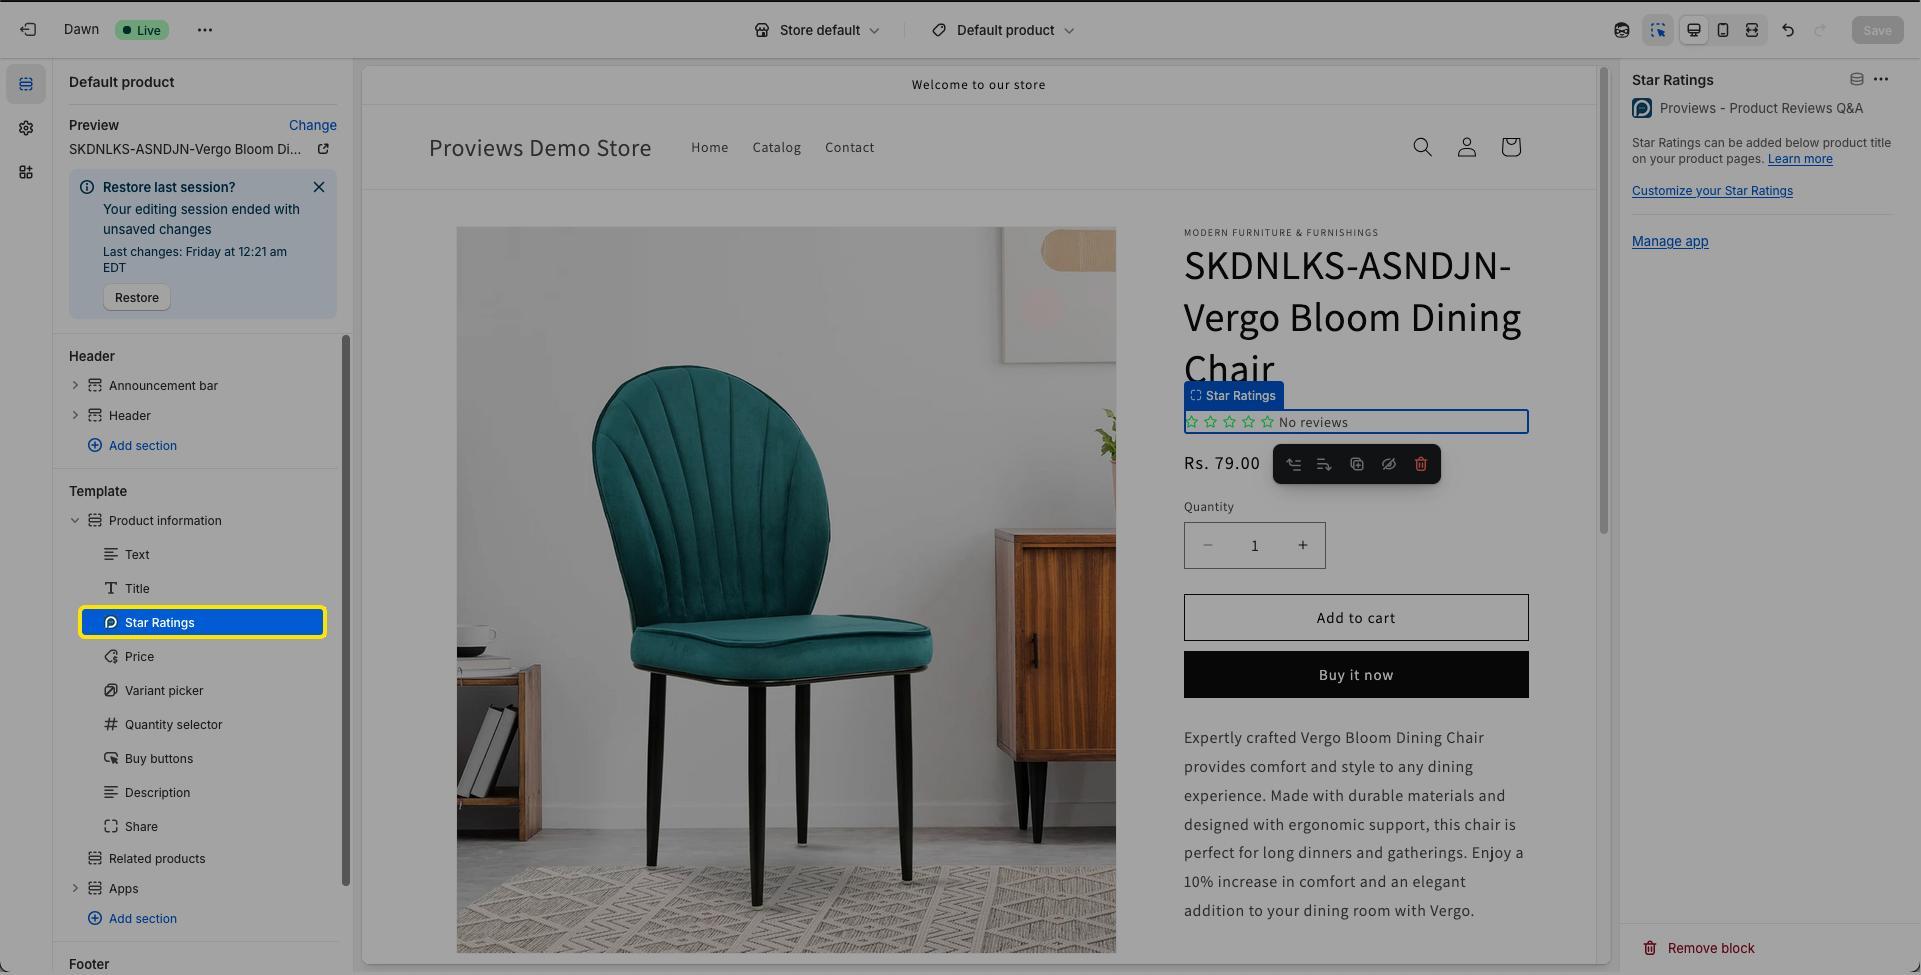
Step 2 – Install Star Ratings on Product Pages
Choose either the automatic or manual installation method to add star ratings to your product pages:
Install Automatically: Click “Install Star Ratings automatically” in the Star Ratings settings. Proviews redirects you to the Theme Editor where you can confirm the placement. Click Save to apply.
Install Manually: Add the Star Ratings block manually via the Shopify Theme Editor. Follow the steps below.
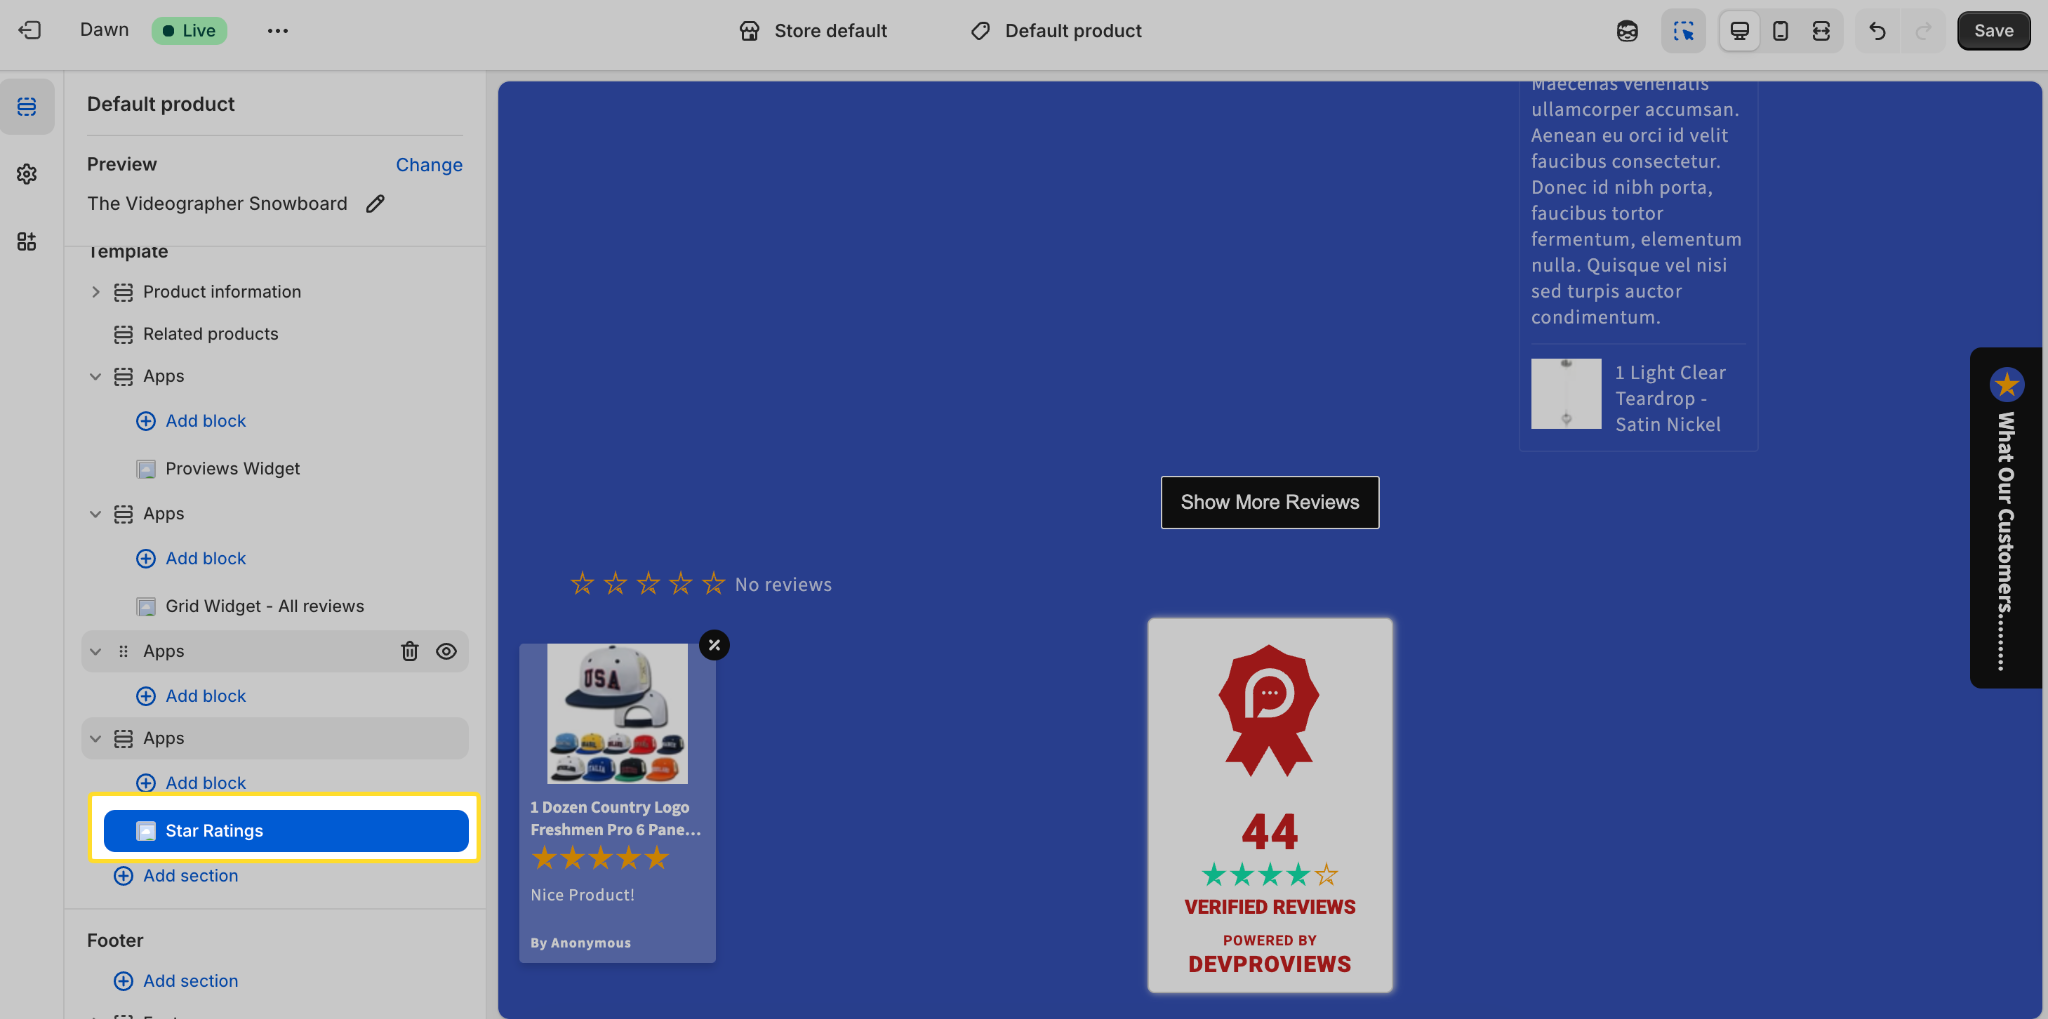
Manual Installation Steps
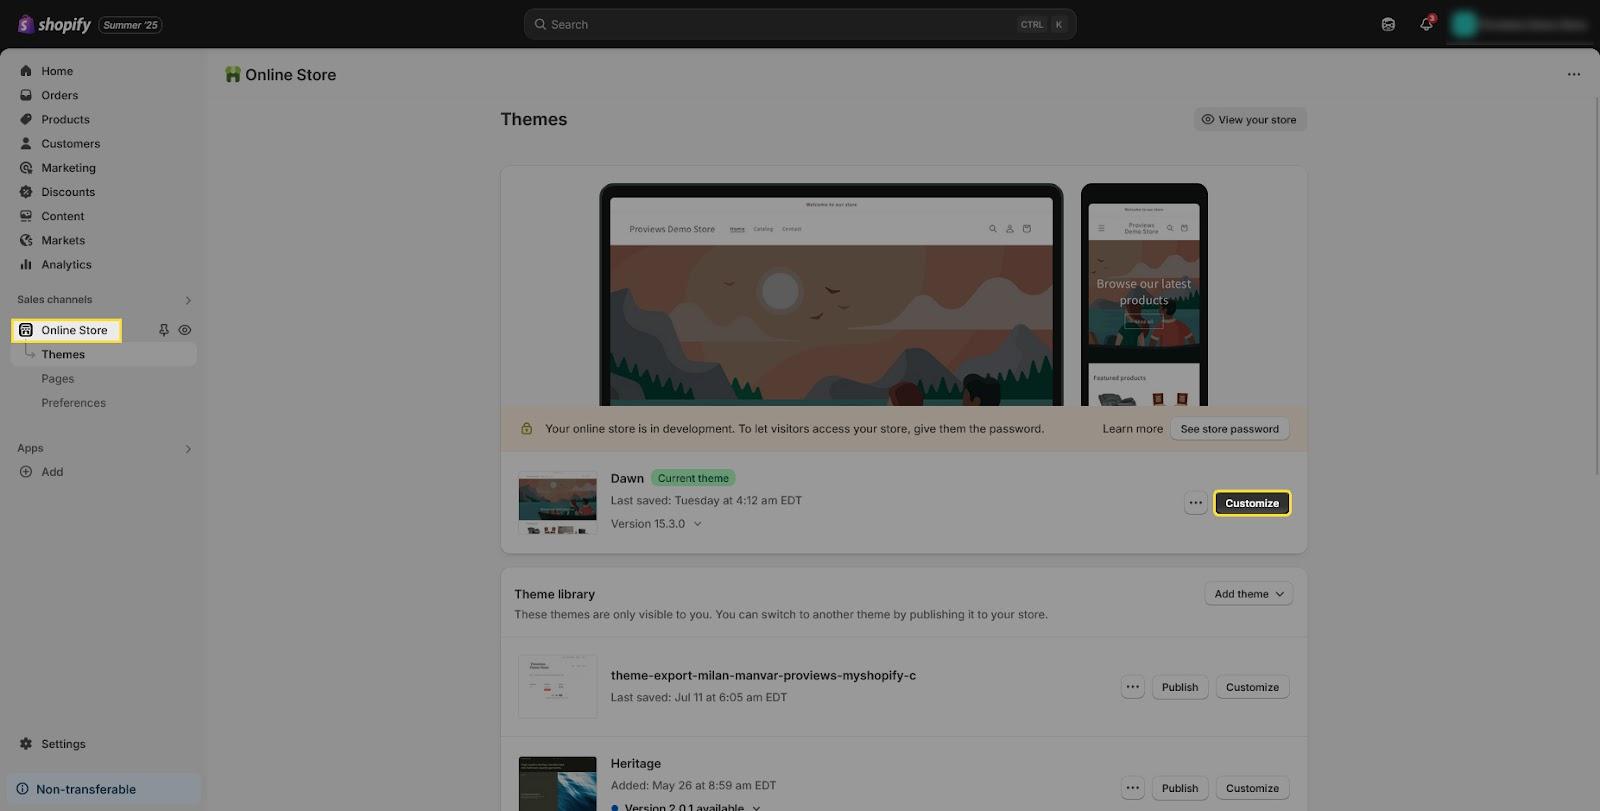
- In Shopify admin, go to Online Store → Themes and click Customize on your active theme.
- From the dropdown at the top of the Theme Editor, select the Product template where you want star ratings to appear.
- In the left panel, click Add block and select Star Ratings from the list.
- Drag the block to your preferred position (e.g., below the product title) and click Save.
Step 3 – Display Star Ratings on Collection Pages
Collection page star ratings require a snippet added to your theme's product card template. Scroll to the bottom of the Star Ratings settings page in Proviews to find and copy the snippet code.
1. On the Star Ratings settings page, scroll down and click Copy snippet code.
2. In Shopify admin, go to Online Store → Themes → Edit Code.
3. Open your theme's product card template file. Common file names include:
- card-product.liquid
- product-grid-item.liquid
- Any custom product loop file used by your theme
4. Paste the snippet below the product title or price for best visibility, then click Save.
Tip: The same snippet also works for search results pages. If your theme uses a shared product card component across collections and search, adding the snippet once may cover both locations automatically.
Step 4 – Configure Star Ratings Settings
Fine-tune how star ratings behave and what text they display on your storefront:
| Setting | Options & Description |
| Hide badge when no reviews | Yes — Hides the star badge entirely on products with no reviews, keeping your storefront clean. No — Shows placeholder text (e.g., "No reviews") so the badge space is never empty. |
| Hide badge text | Yes — Displays star icons only, without any accompanying review count or text label. No — Displays stars alongside the review count text. |
| No Review text | The label shown on the badge when a product has zero reviews. Default: No reviews. Customizable to match your store's tone. |
| Product Group text | The label format shown alongside the review count. Default: [n!] review(s) — where [n!] dynamically replaces with the total review count. |
Once configured, click Save to apply all changes. Settings take effect immediately — no further theme code changes are needed.
Need Help?
Click “Help Me” and our chatbot will appear. You can then ask questions or request assistance in real time.
For email support, feel free to reach out to us at support@simprosys.com
Next article

Proviews ‑ Product Reviews Q&A
Legal Policies
Setup & Configuration
Additional Information
Installation Processes
Feature Policies & Guidelines


