

Google Shopping by Simprosys
Installation Processes
Processes of Google Shopping by Simprosys for Wix
Set up Tax Settings in Google Merchant Center Next for Wix
Feb 17, 2026
To comply with Google’s requirements and ensure accurate price displays on Google Shopping, it is mandatory to submit tax (TAX) and VAT/GST charges if applicable in your Wix store.
The tax data must be included in your product feed so that Google can display the full price breakdown to customers during the purchasing process. This includes not only the product price but also any applicable taxes or other charges.
For merchants operating in the U.S., it is required to configure Sales Tax settings in Google Merchant Center Next for each state where taxes are charged. The sales tax configuration must be set up separately for each state. If there are states where you do not charge taxes will still be required to indicate this within the Merchant Center Tax Settings.
Note: The Sales Tax settings are only applicable to U.S. states and should be configured accordingly in the Merchant Center interface.
International (Non-U.S.) Sellers:
For countries outside the U.S., merchants must incorporate VAT or GST into the product prices themselves. Once the VAT/GST-inclusive prices are set, the feed should be submitted to the Google Merchant Center Next. Google will then display the full price with the tax included as per the regulations.
To set up the Sales Tax setting in the Google Merchant Center Next, follow the procedure below:
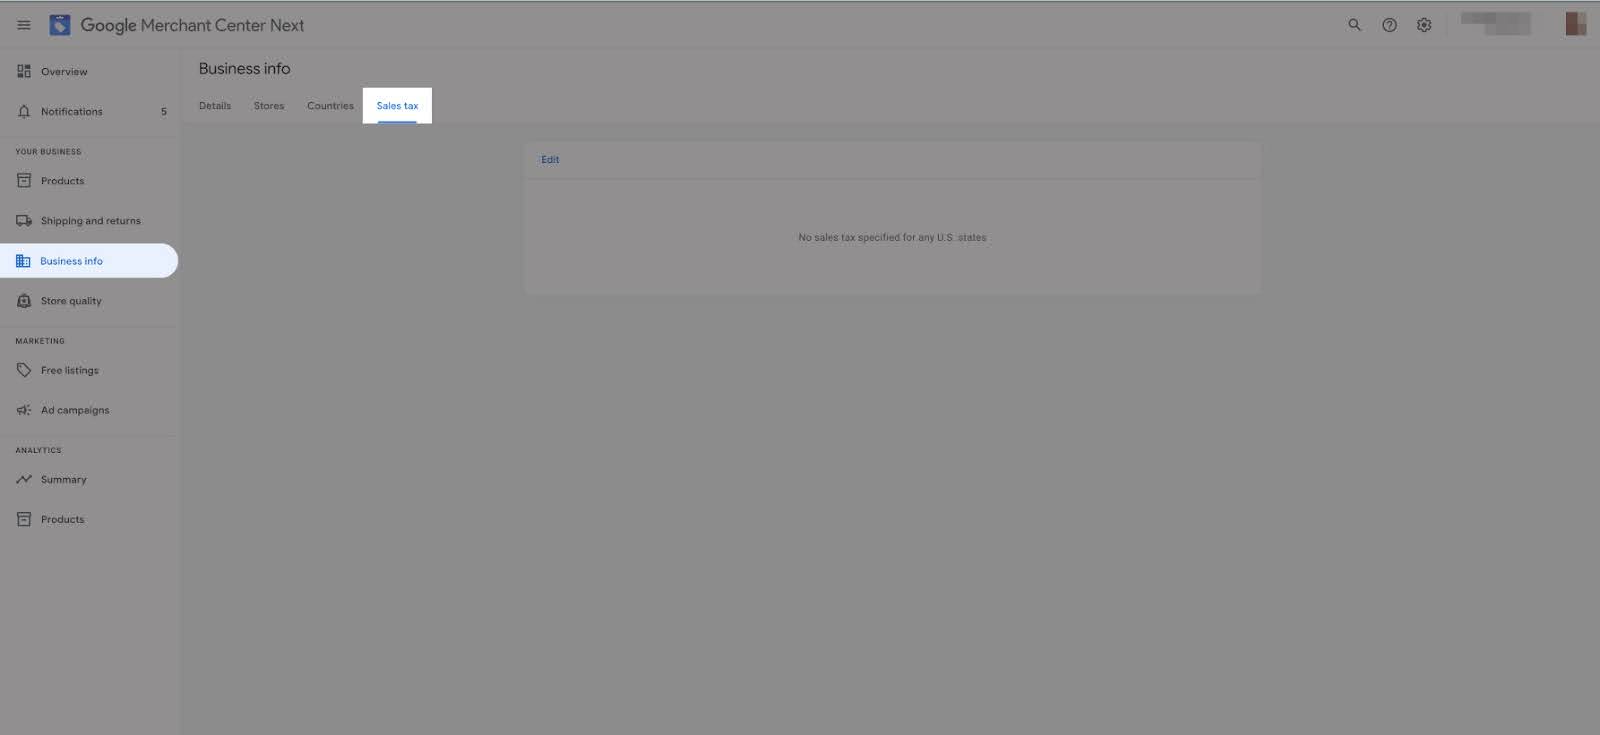
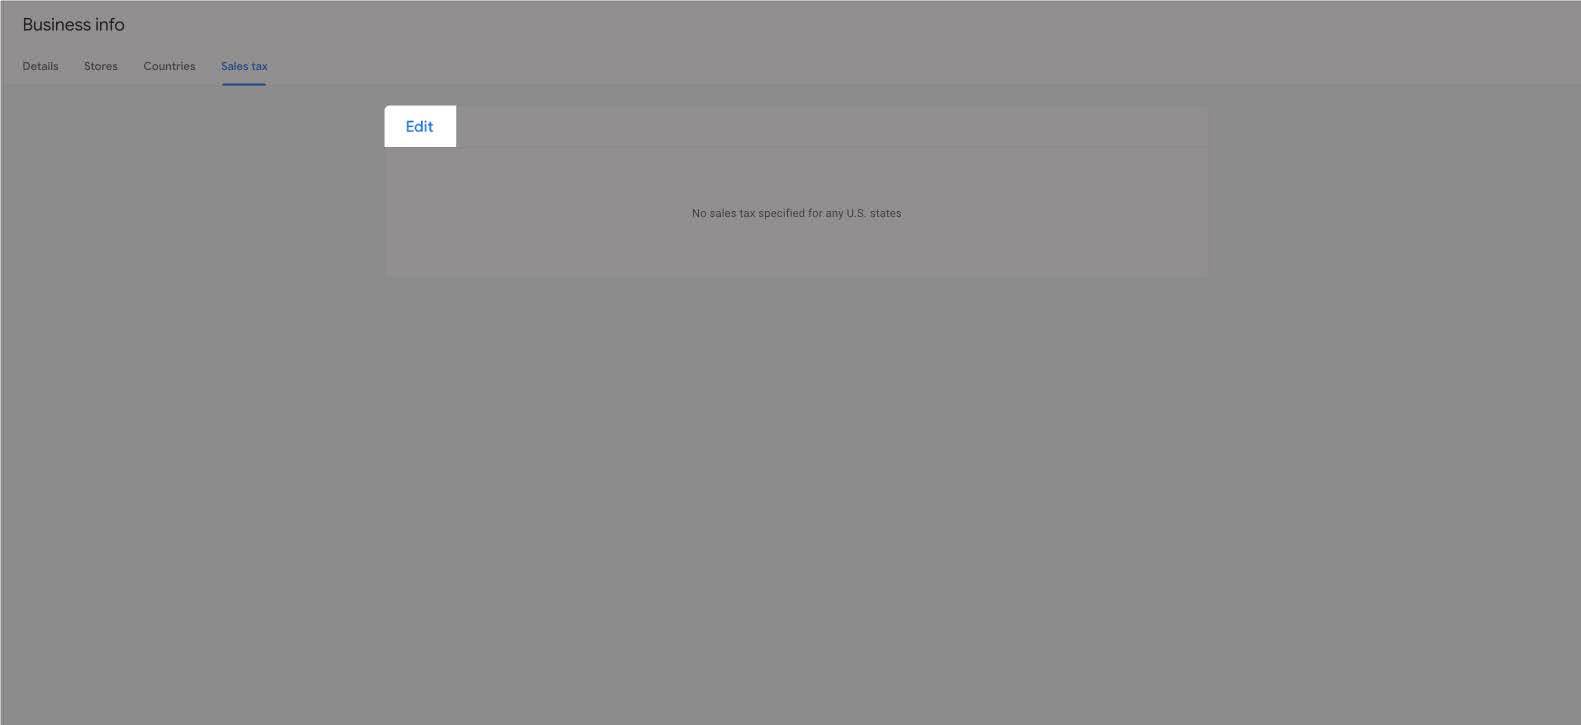
Step 1: Access Tax Settings
Log in to your Google Merchant Center Next account, locate the option Business Info > Sales Tax > Edit
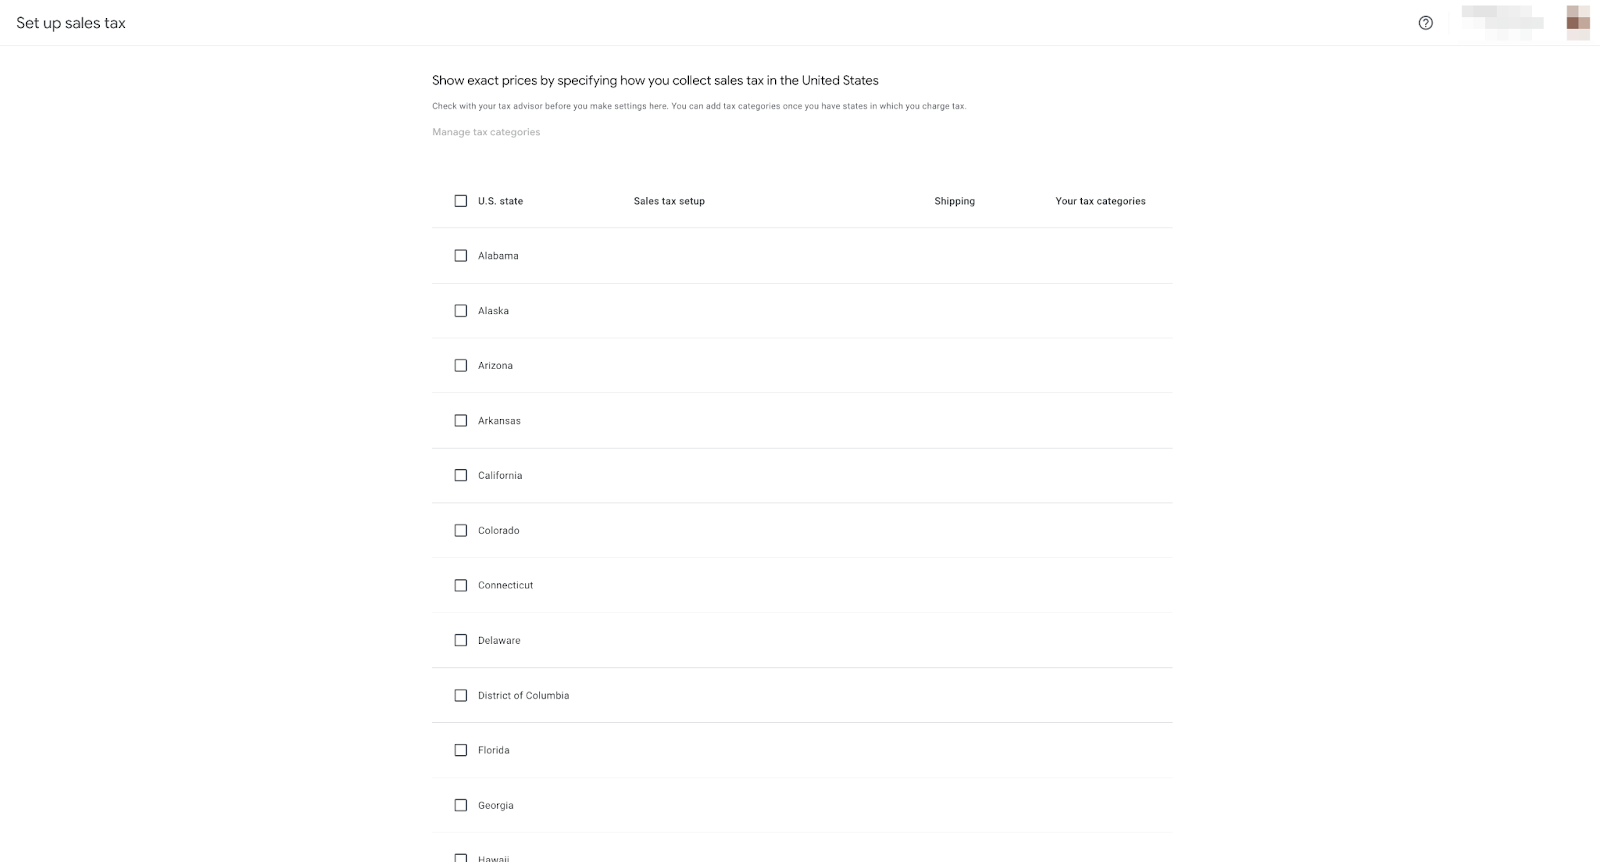
Step 2: Review State Tax Options
The next page you will be able to see “Tax Settings”. Here you will see all the states as disabled, which means that sales taxes are not setup for any states of the US.
Step 3: Determine Applicable Tax Rates
The other question will be how much tax is to be collected and paid to the US government from which state. For this, we recommend you connect with your tax advisor to get the accurate details on this.
Step 4: Match Wix Store Tax Settings
Now, look into your Wix store for the tax settings and set up exactly the same in your Google Merchant Center Next account.
Step 5: Understand State-Specific Tax Rules
In the US, the tax rates vary based on buyers’ or sellers’ location. Every state has its own rules regarding whether your business is required to collect tax and how much tax is to be collected.
Step 6: Enable and Configure State Tax Settings
For instance, consider that you operate from the state of Texas, as you have a physical store or warehouse there. So, based on the Wix store tax setting, set up the same tax setting in Google Merchant Center Next.
Enable the switch against the state “Texas”, and there will be two options:
- Automatic, Based on Customer Location: If you select this option, then Google will automatically determine the sales tax for the location of the customer.
- Manual: If you select this option, you can define the custom tax rate for the state.
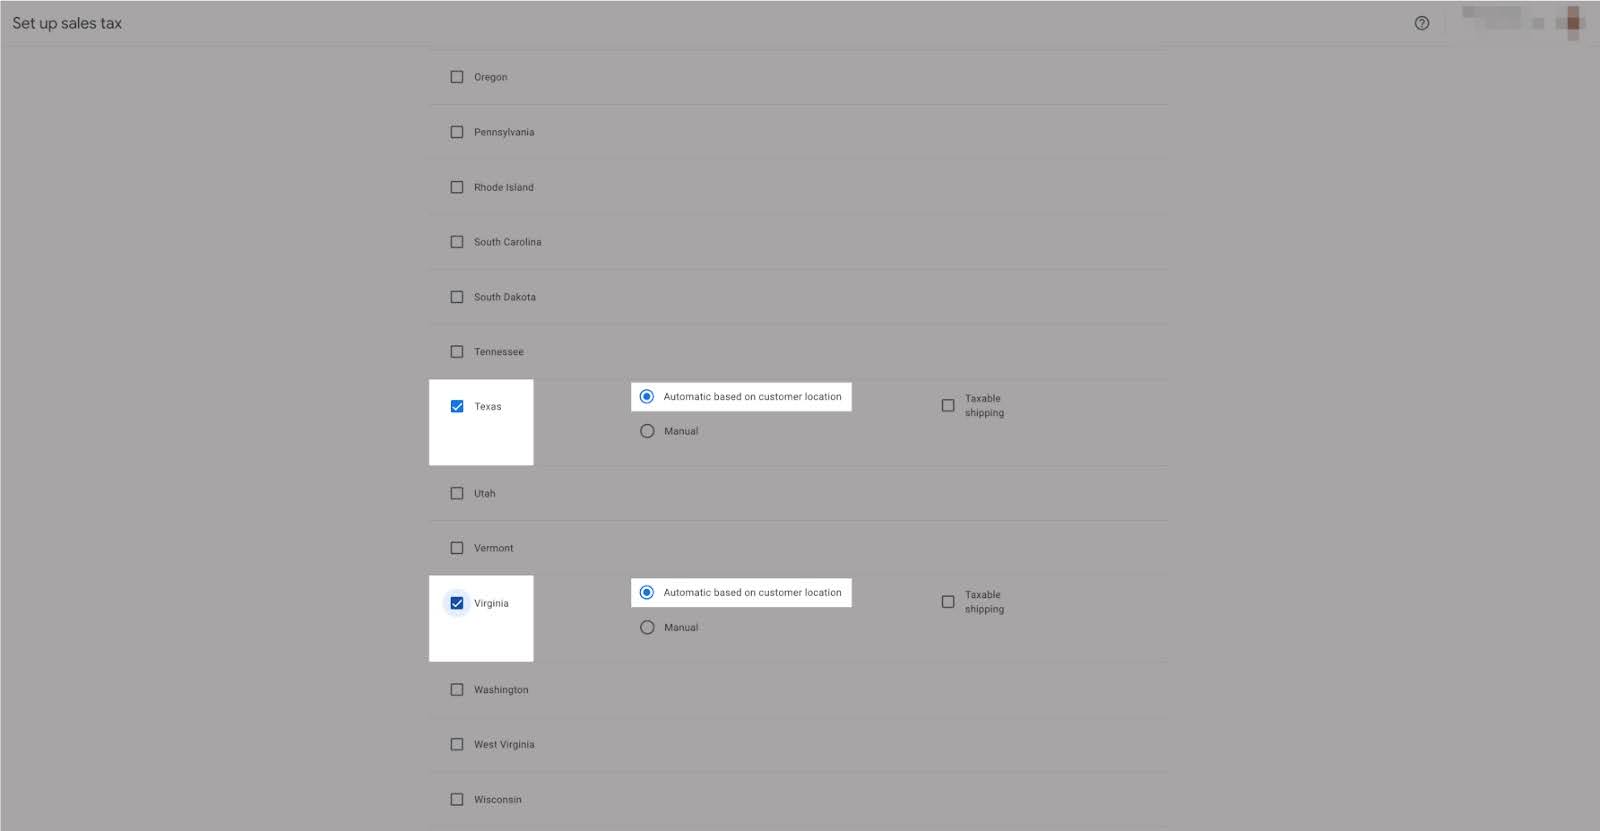
Step 7: Configure Shipping Tax Settings
One last option is “Is shipping taxable?” If you have set the tax rates applicable for shipping, then you can check the box as “Taxable”; otherwise, you can leave it unchecked.
Step 8: Save Your Tax Configuration
Step Once you have selected the options, scroll down to get the option of “Save” and confirm the tax setup.
We hope it is going to be helpful.
Need Help?
For additional guidance and resources, visit our Wix page: https://simprosys.com/google-shopping-by-simprosys-wix
If you have any queries on any of these options, you can write to us at support@simprosys.com, and we will assist you.
Previous article

Next article
Google Shopping by Simprosys
Installation Processes
Processes of Google Shopping by Simprosys for Wix


