SimprosysAPIs
Introduction and Account Setup

Channel Integration
Feed Configuration
Product Data Source Setup
Manage Products
Legal Polices

Introduction and Account Setup
Aug 31, 2026
1. Introduction
Our Help documentation is designed to help you use and navigate SimprosysAPIs efficiently throughout your workflow. Whether you are getting started, setting up channel integrations, managing your product data, or looking for guidance on specific features, you will find clear, step-by-step instructions to help you get started and use SimprosysAPIs effectively.
The documentation is organized into easy-to-follow sections to guide you through the initial setup and ongoing management of your product feeds.
SimprosysAPIs is built for merchants and agencies with custom store domains who need a reliable feed management solution with minimal manual effort. It helps you submit and manage product data across multiple channels while keeping your product information accurate and up to date.
Before You Get Started
To use SimprosysAPIs, you will need:
• A verified website domain.
• Accounts for the channels you plan to use, such as Google Shopping, Microsoft Advertising, Meta Ads, or Klaviyo.
• A product data source, such as an API or CSV file, to sync your product catalog with the platform.
2. Account Setup
Get started with SimprosysAPIs by creating a new account. Follow the steps below to complete the sign-up process.
Step 1: Sign Up & Email Verification
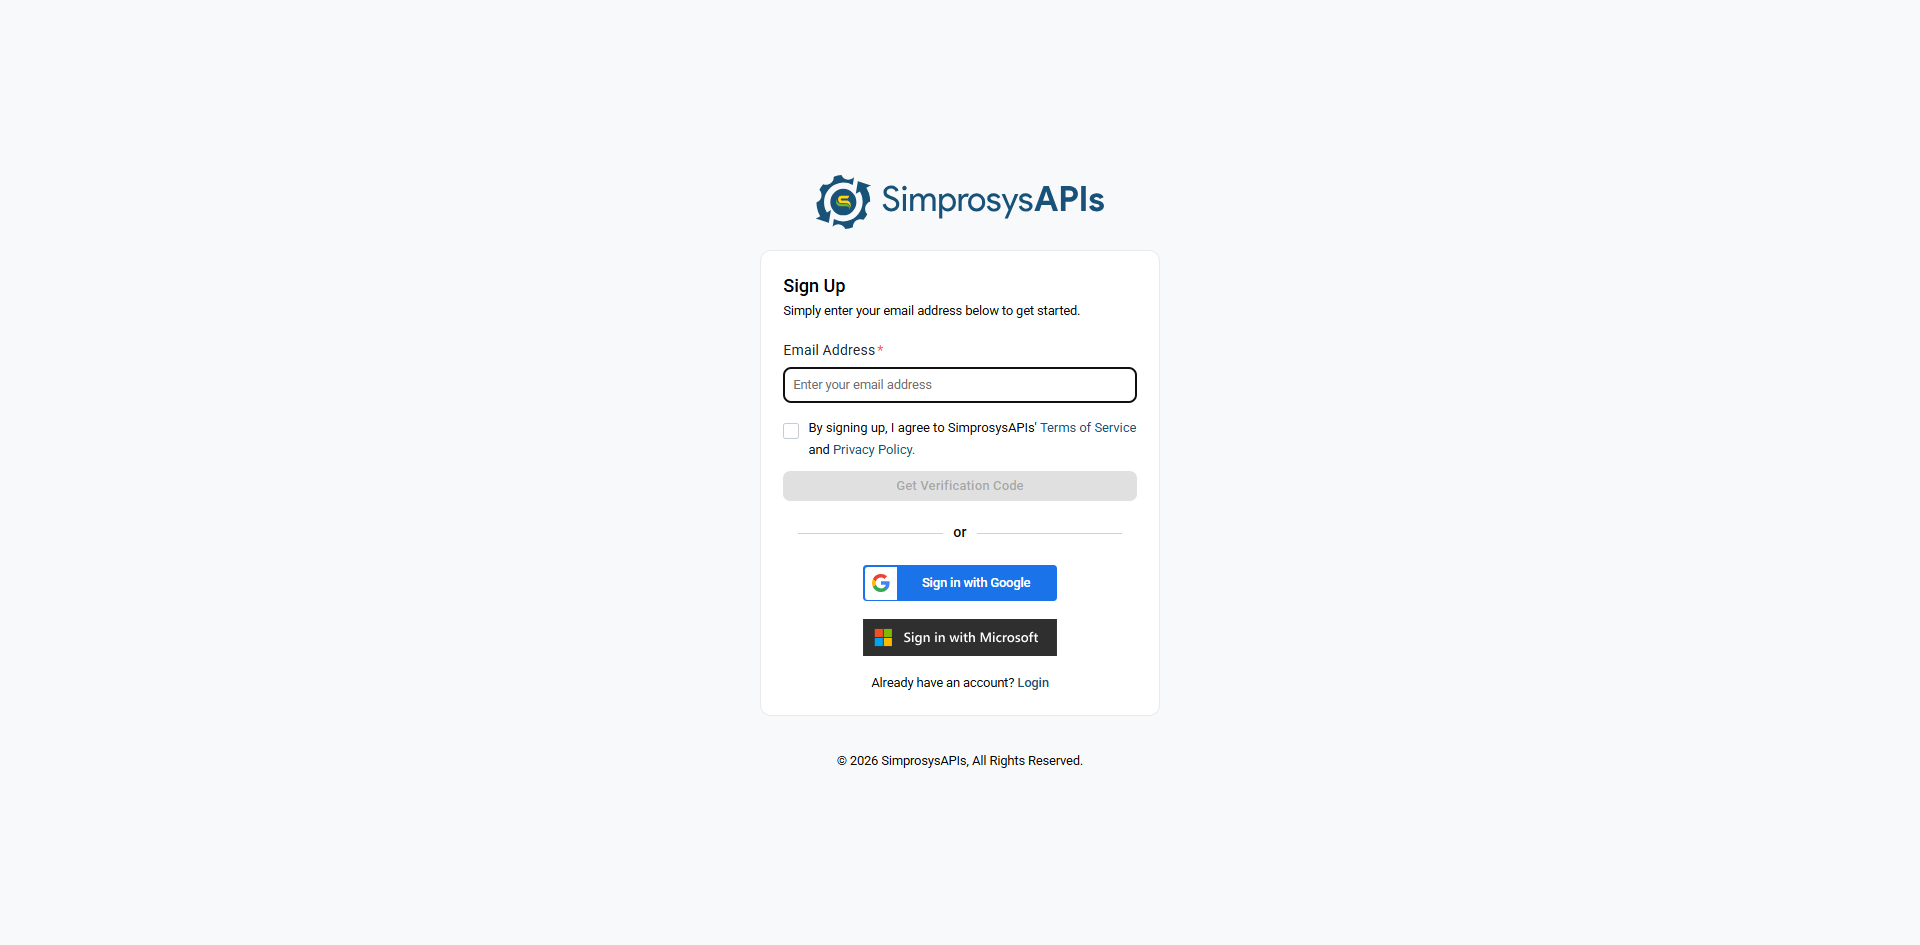
• Open the Sign Up page, enter your email address, review and accept the Terms of Service and Privacy Policy, then click Get Verification Code.
• To sign up faster, select Sign in with Google or Sign in with Microsoft.
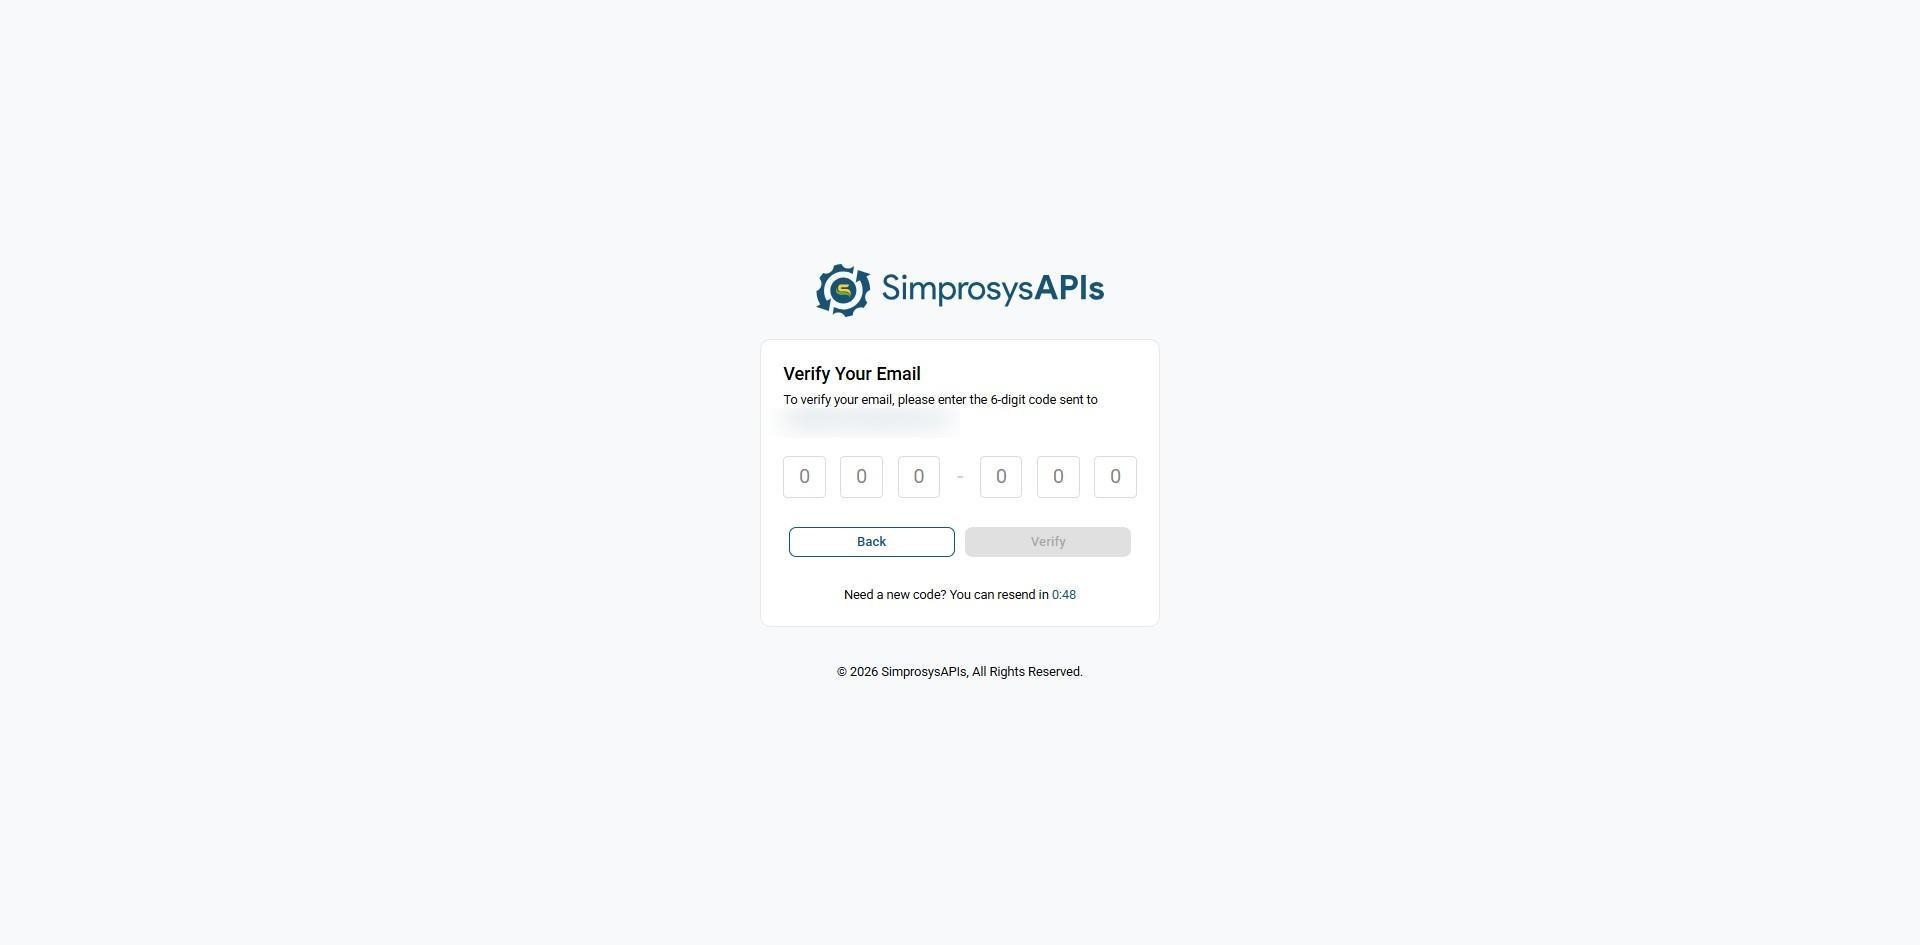
• On the Email Verification page, enter the 6-digit verification code sent to your registered email address, then click Verify.
• After your email is verified successfully, you will be redirected to the Password Setup page.
Step 2: Set Up Your Password
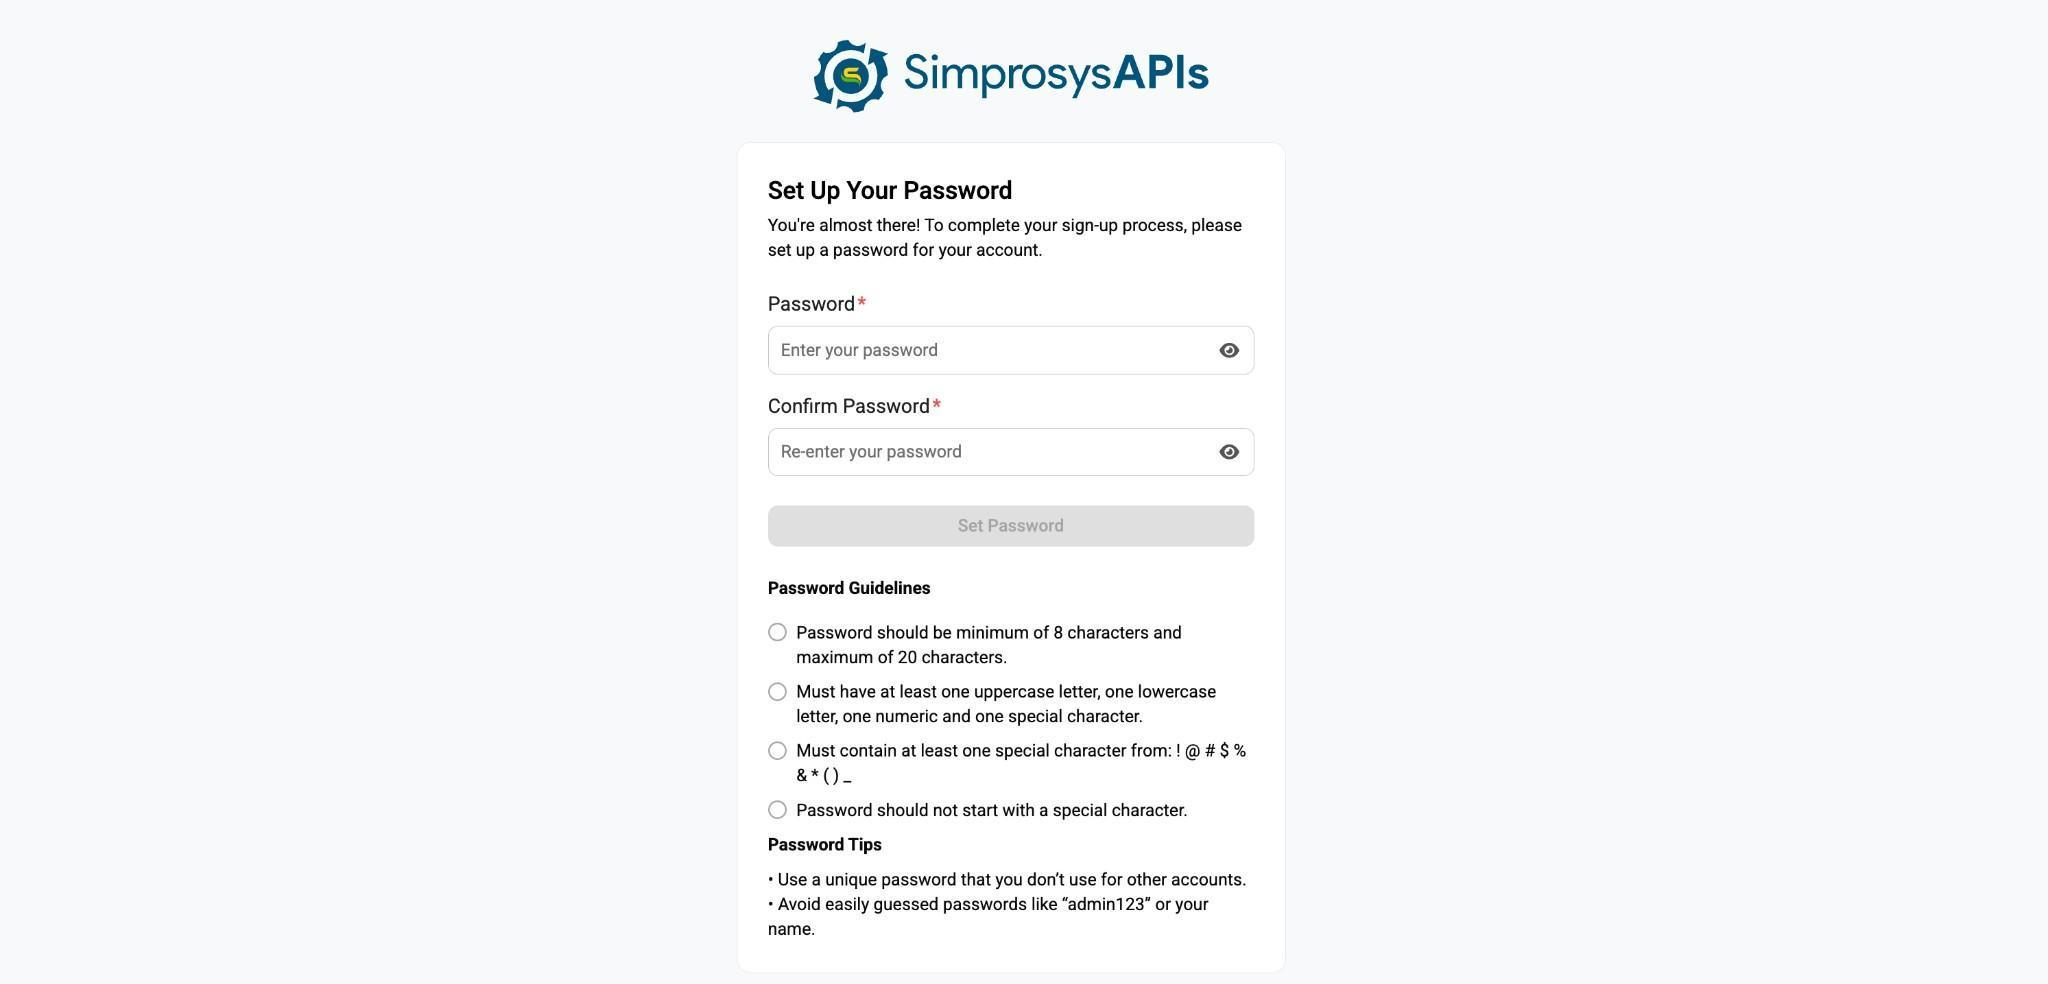
• Enter your password and confirm it. Ensure it meets the password requirements.
• Once you've entered and confirmed your password, click Set Password.
• When your password is set successfully, you will be redirected to the Create Organization page.
Step 3: Create an Organization
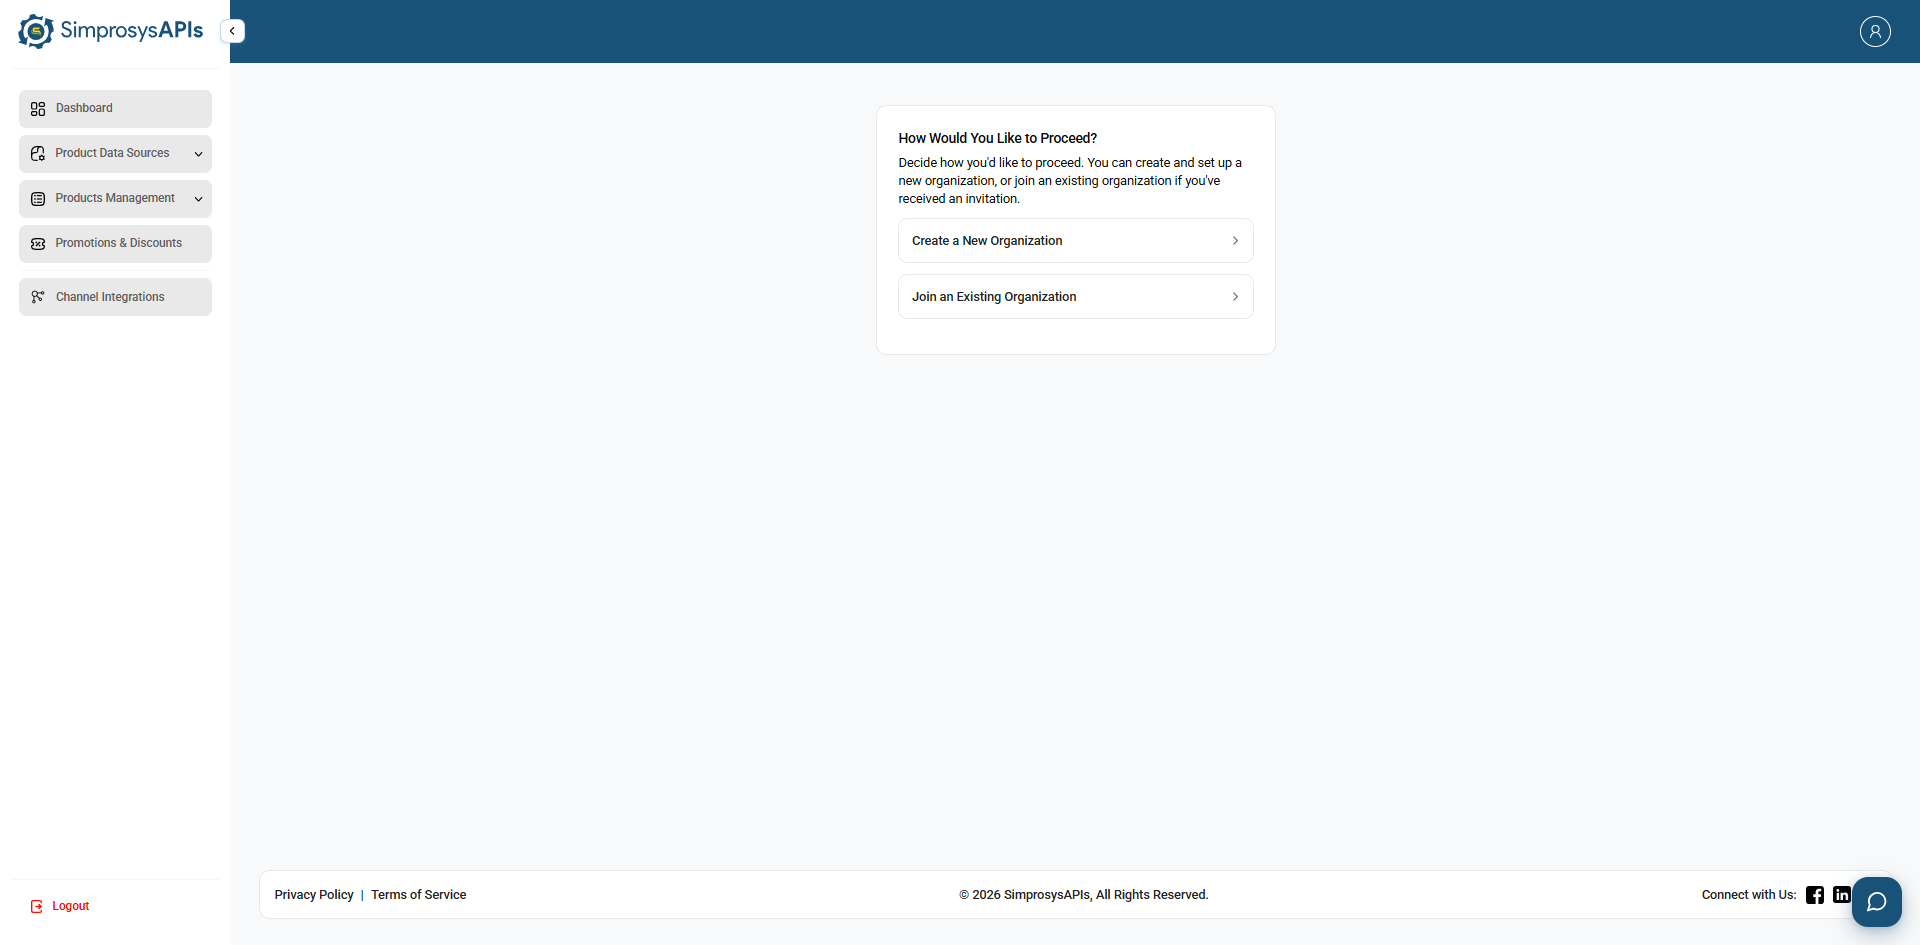
After setting your password, choose the appropriate option:
• Create a New Organization: Choose this option if you are creating a new organization and will manage it yourself.
• Join an Existing Organization: Choose this option if you have received an invitation to join an existing organization.
If you choose Create a New Organization, enter your Business Name and Business Email Address. The Website URL, Business Location, State/Province, and Phone Number fields are optional.
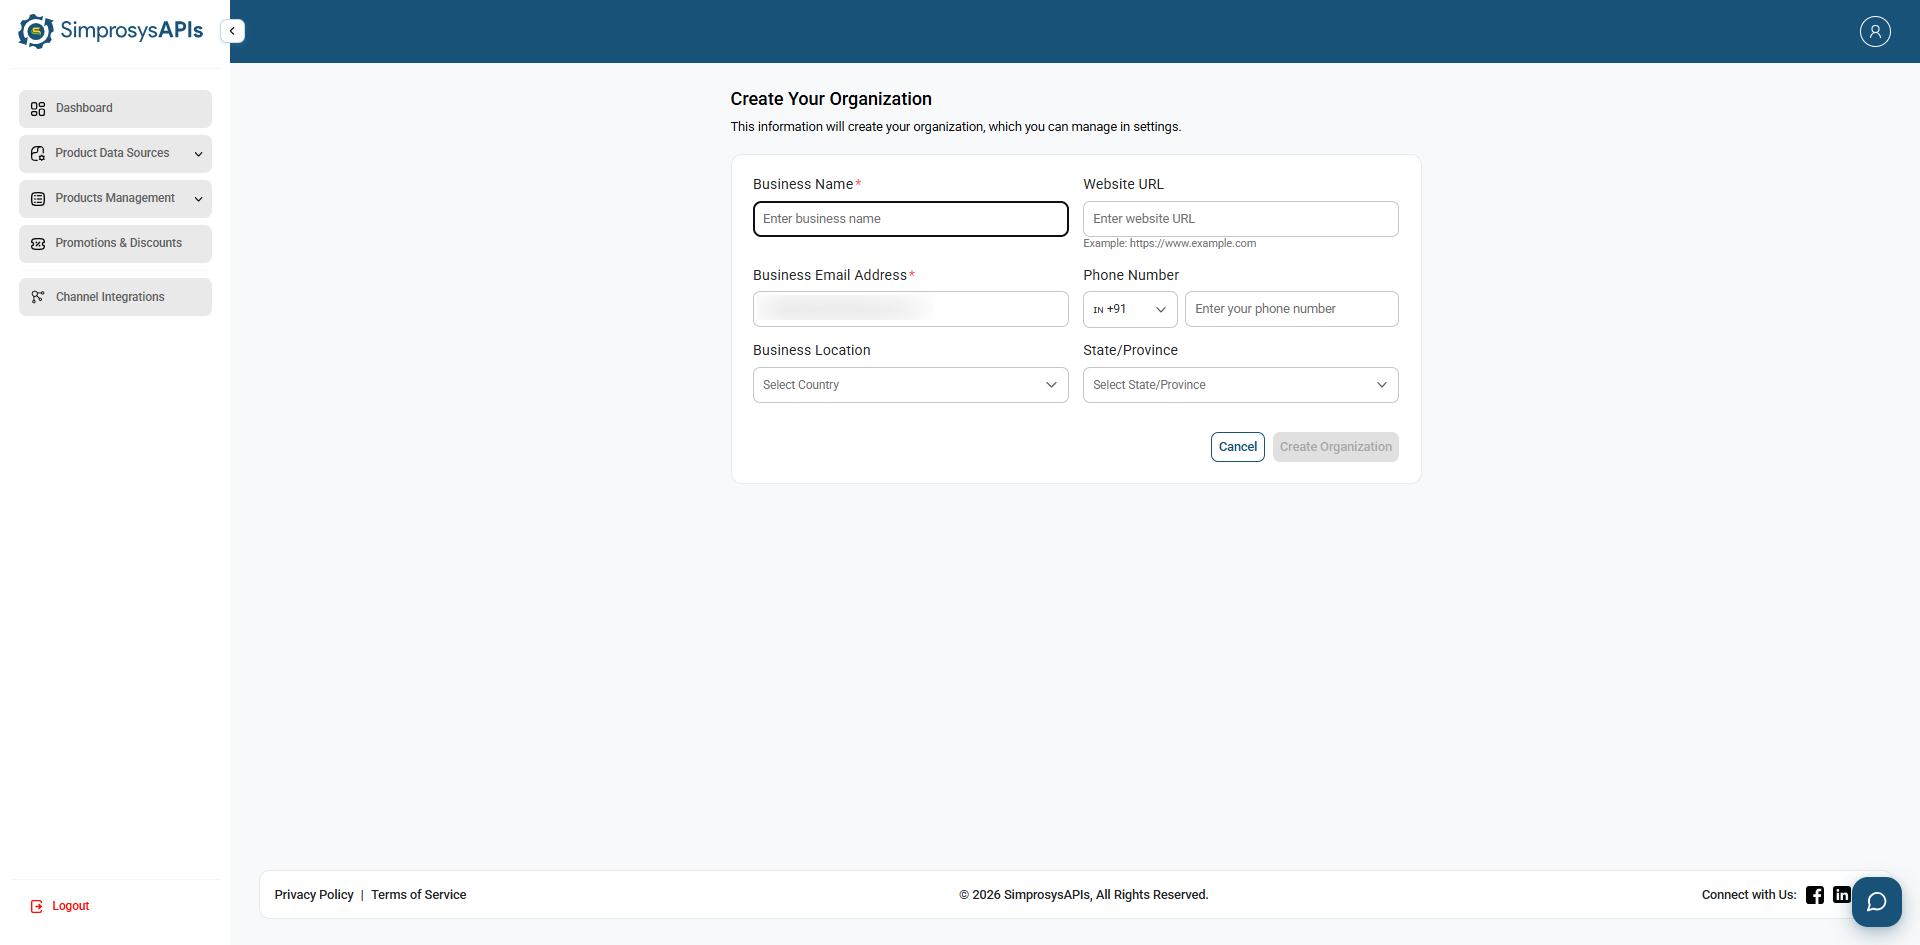
Step 4: Create Your Profile
• After your Organization is created, you will be redirected to the Profile Setup page.
• Enter your First Name to complete your profile. Your Email Address will be pre-filled from the sign-up process. Last Name and Phone Number are optional.
• Click Save Profile to continue.
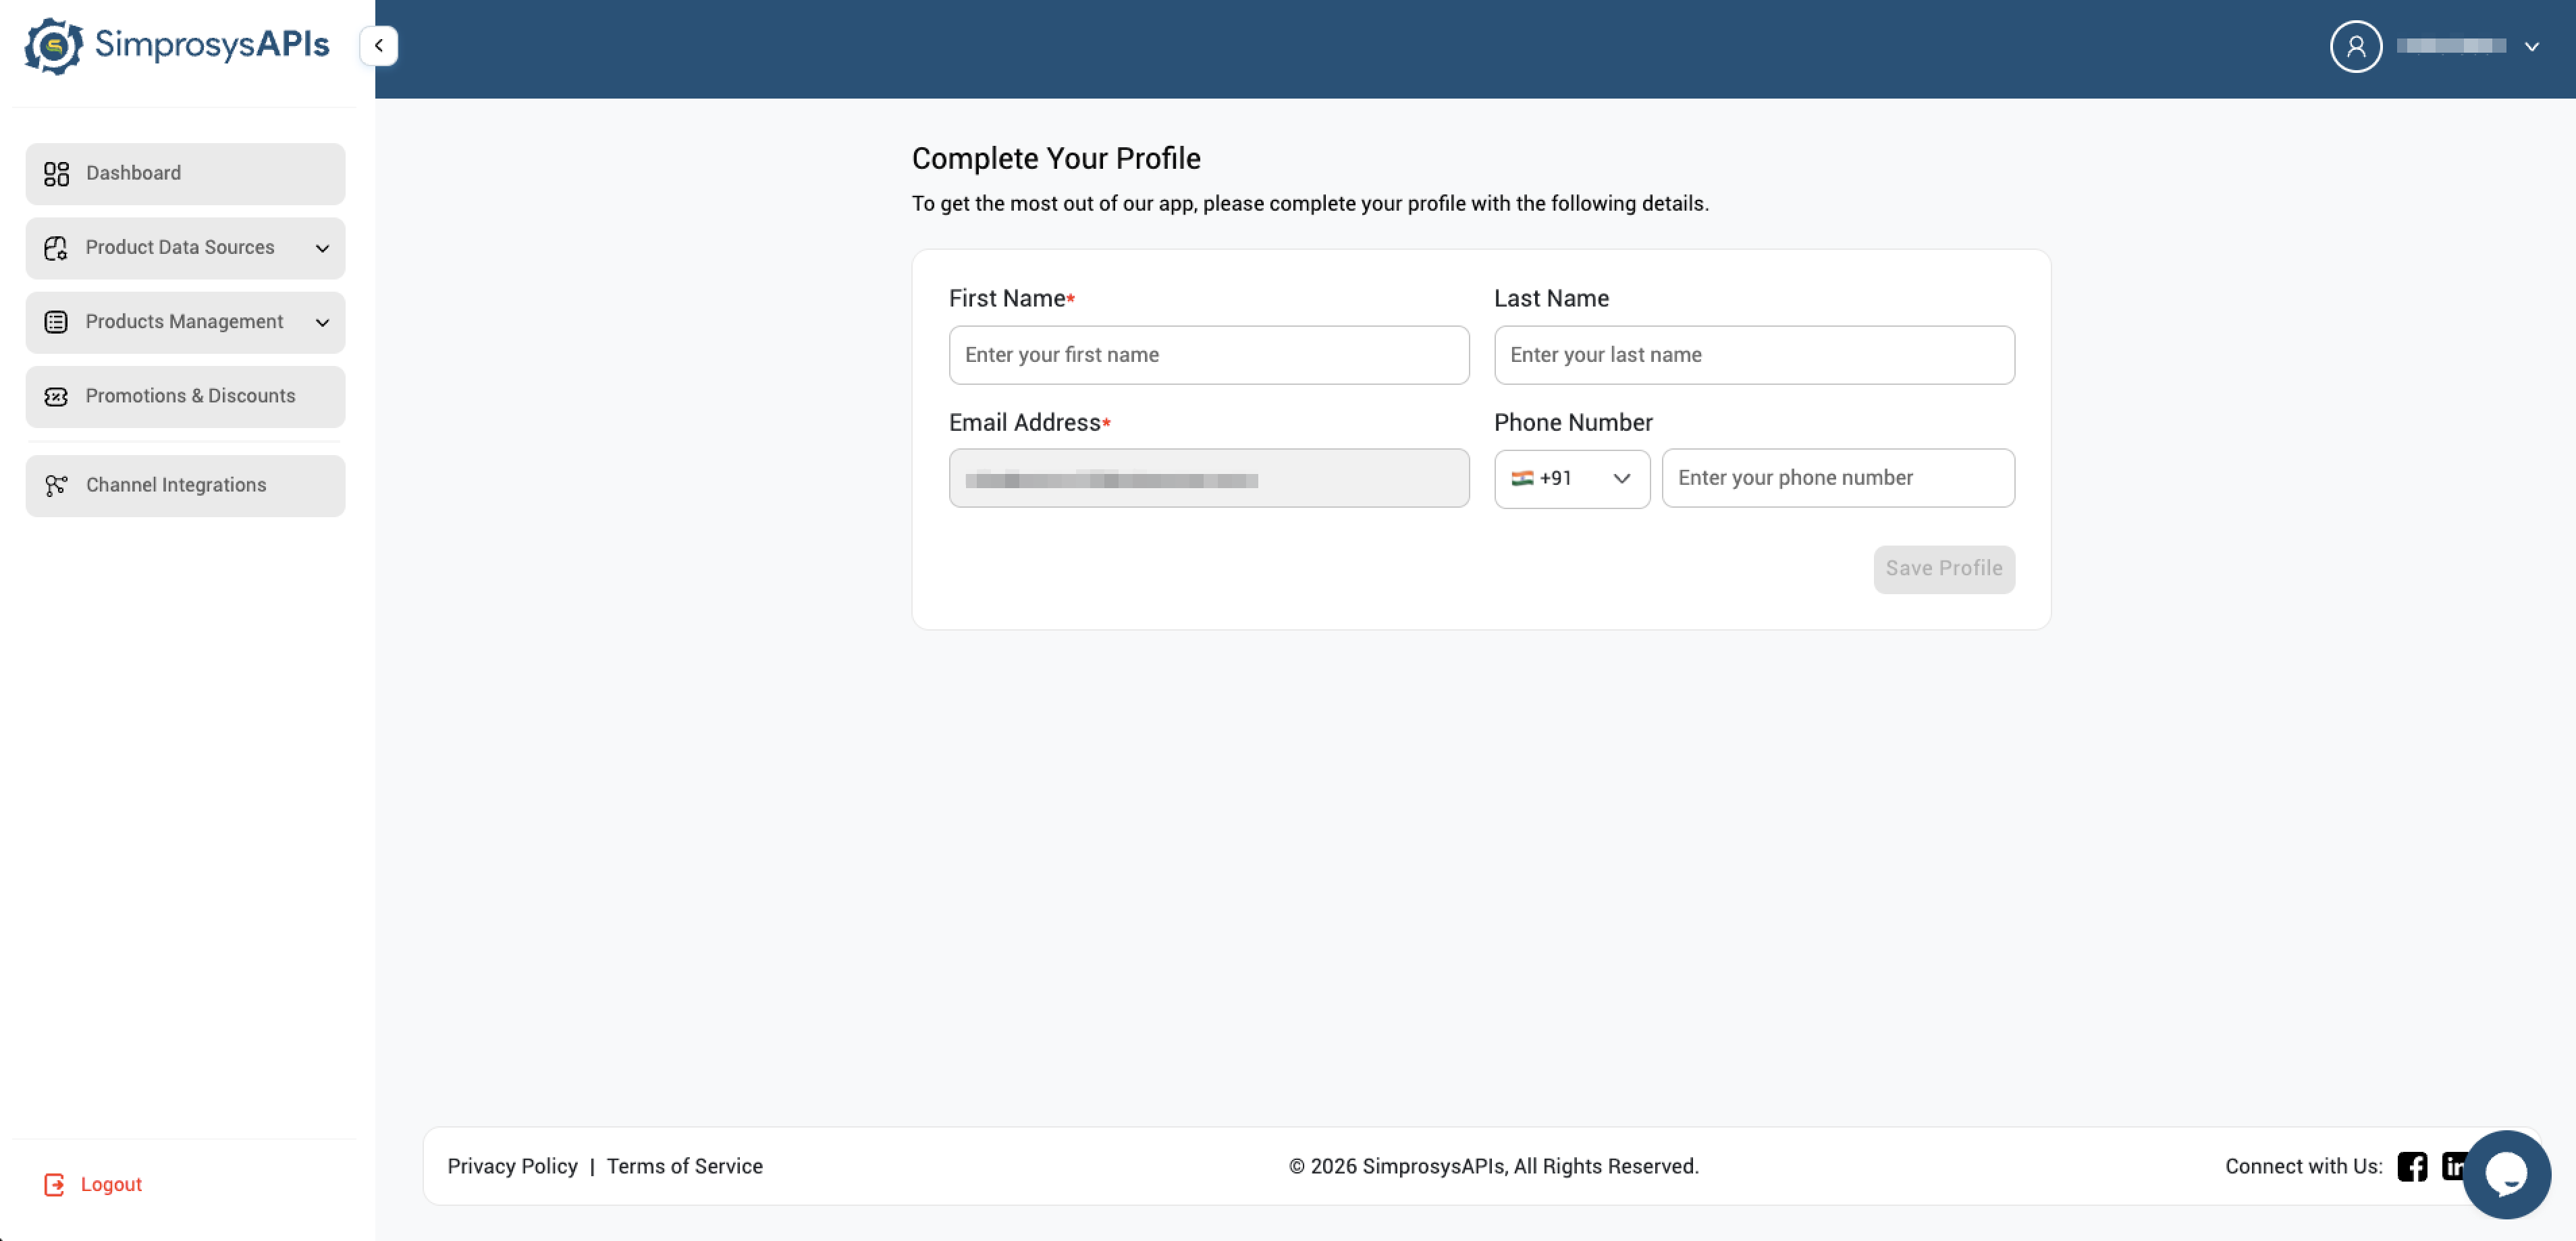
Step 5: Create Your Store
• Enter your Store Name and Store Website URL.
• Select your Store Currency.
• Enter your Store Timezone and Contact Email Address.
• Choose whether the store is a testing store:
Select Yes if you are setting up a store for testing.
Select No if you are connecting your live store.
• Click Set Up My Store to complete the store setup.
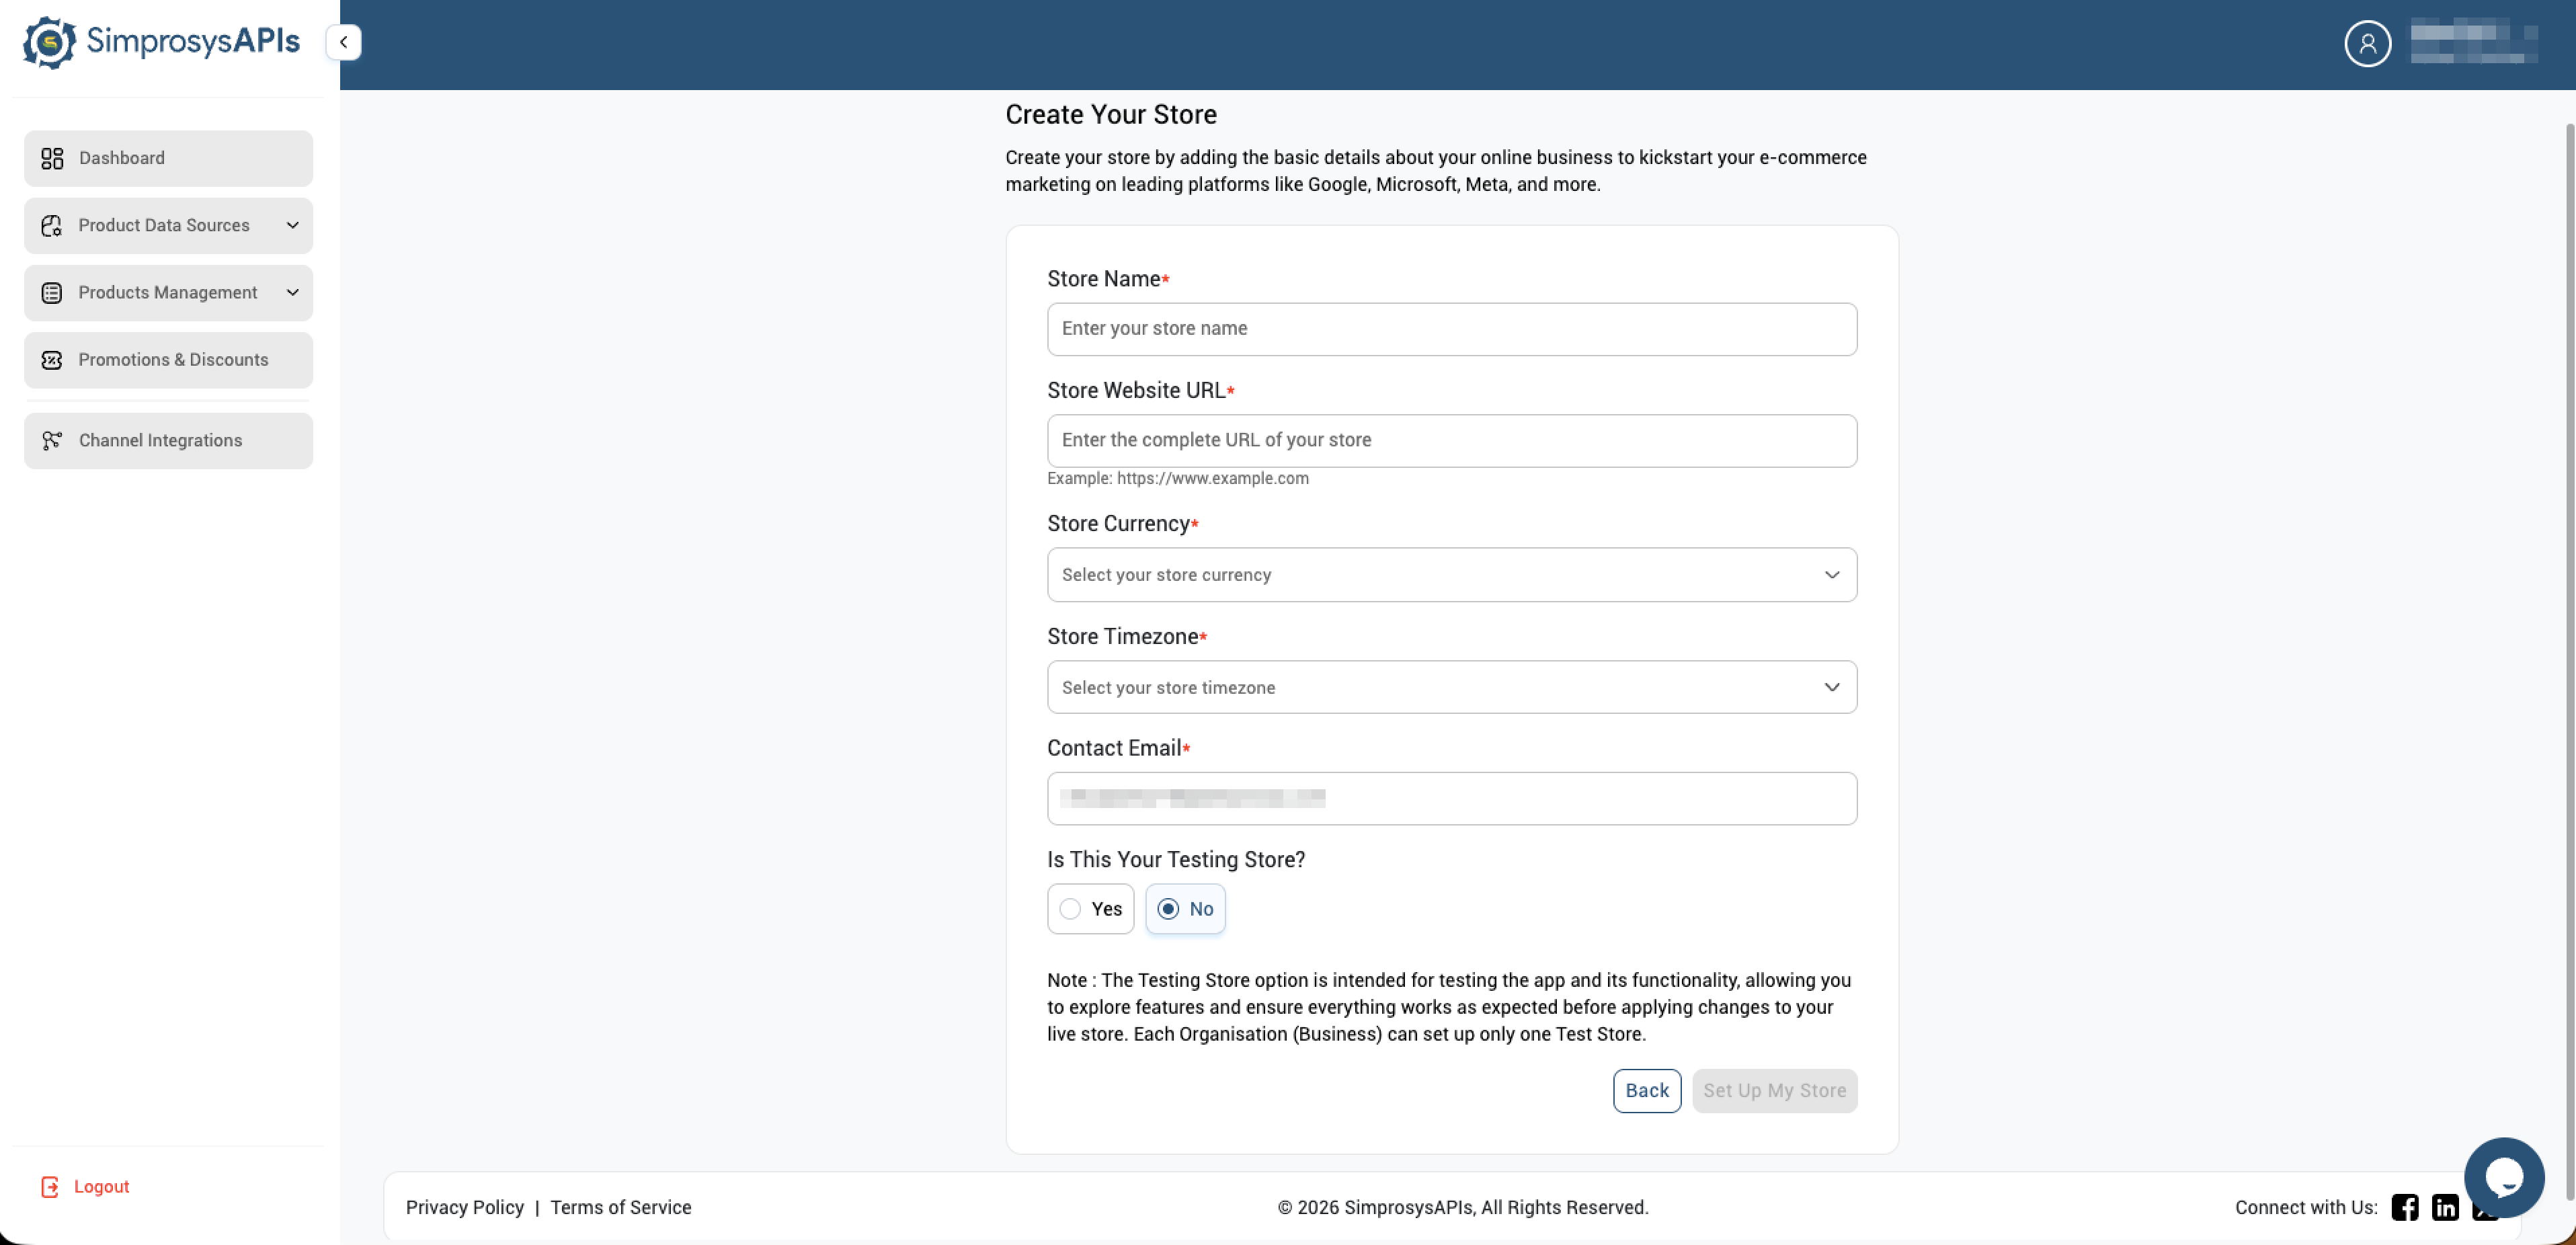
Note: Each Organization can set up only one Test Store, which is meant for exploring features and validating changes safely before applying them to your live store.
Explore SimprosysAPIs
• Channel Integration: You can integrate SimprosysAPIs with Google Shopping, Microsoft Advertising, Meta Ads, and Klaviyo.
• Data Source: Sync your products using our APIs or import your product catalog using a CSV file.
• Product Management: Manage product statuses, save filtered products, and customize your products in bulk.
Need help?
For email support, feel free to reach out to us at support@simprosys.com

SimprosysAPIs
Introduction and Account Setup
Channel Integration
Feed Configuration
Product Data Source Setup
Manage Products
Legal Polices